Your beat is technically correct — kick on 1 and 3, snare on 2 and 4, hi-hat every 16th note. It sounds like a drum machine. Not because you made mistakes: because you made none.
Knowing how to humanize drum patterns is not about adding randomness. It is about understanding what real drumming actually contains — and deliberately programming those qualities back into your MIDI. This guide covers four techniques, in order of impact, with Ableton and Maschine examples for each. Play the exercises below to hear the difference at each stage.
What's Inside This Guide
What “Robotic” Actually Means
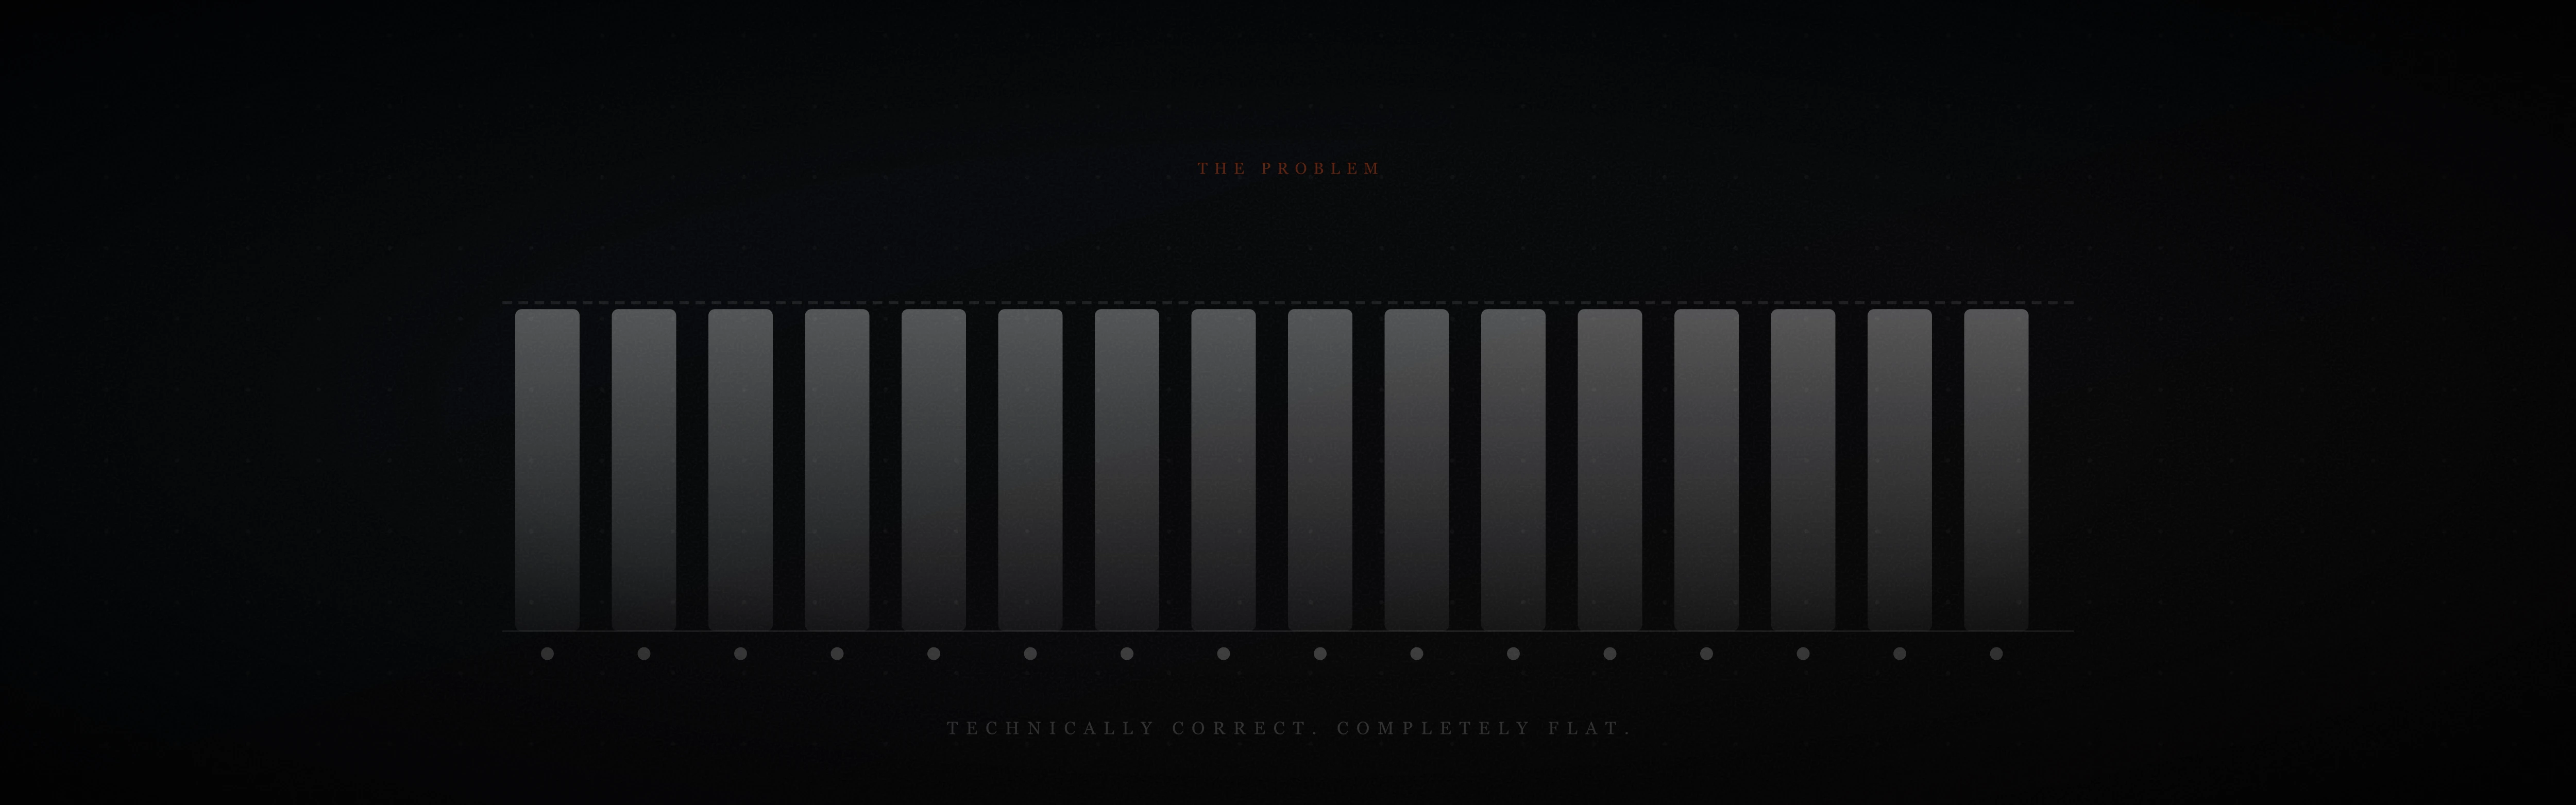
Before fixing anything, hear the problem. This is the pattern most producers start with — technically correct, rhythmically solid, and completely flat.
Every closed hi-hat at the same velocity. Every hit landing exactly on the grid. No variation in texture, weight, or feel. This is what realistic drum programming is working against — not the pattern itself, but its uniformity. The following four sections address each dimension of that uniformity in order.
Velocity Variation

Velocity is the MIDI value for how hard a note is struck, on a scale of 0 to 127. When every hi-hat in your pattern sits at 100, you have built a metronome. A real drummer adjusts striking force constantly — the downbeats land harder, the off-beats sit back, and the filler 16ths are almost an afterthought.
The standard starting point for realistic drum programming:
- Downbeats (1, 2, 3, 4): 80–90 velocity
- Eighth-note off-beats (“and”s): 55–70 velocity
- Remaining 16th-note fills: 40–55 velocity
This alone — no timing changes, no new sounds — is the difference between a programmed feel and a played one.
Ableton: Select all hi-hat notes in your MIDI clip. In the velocity lane at the bottom of the clip view, drag all to 65. Then manually click beats 1, 2, 3, 4 and raise to 85. The entire operation takes under two minutes and the difference is immediate.
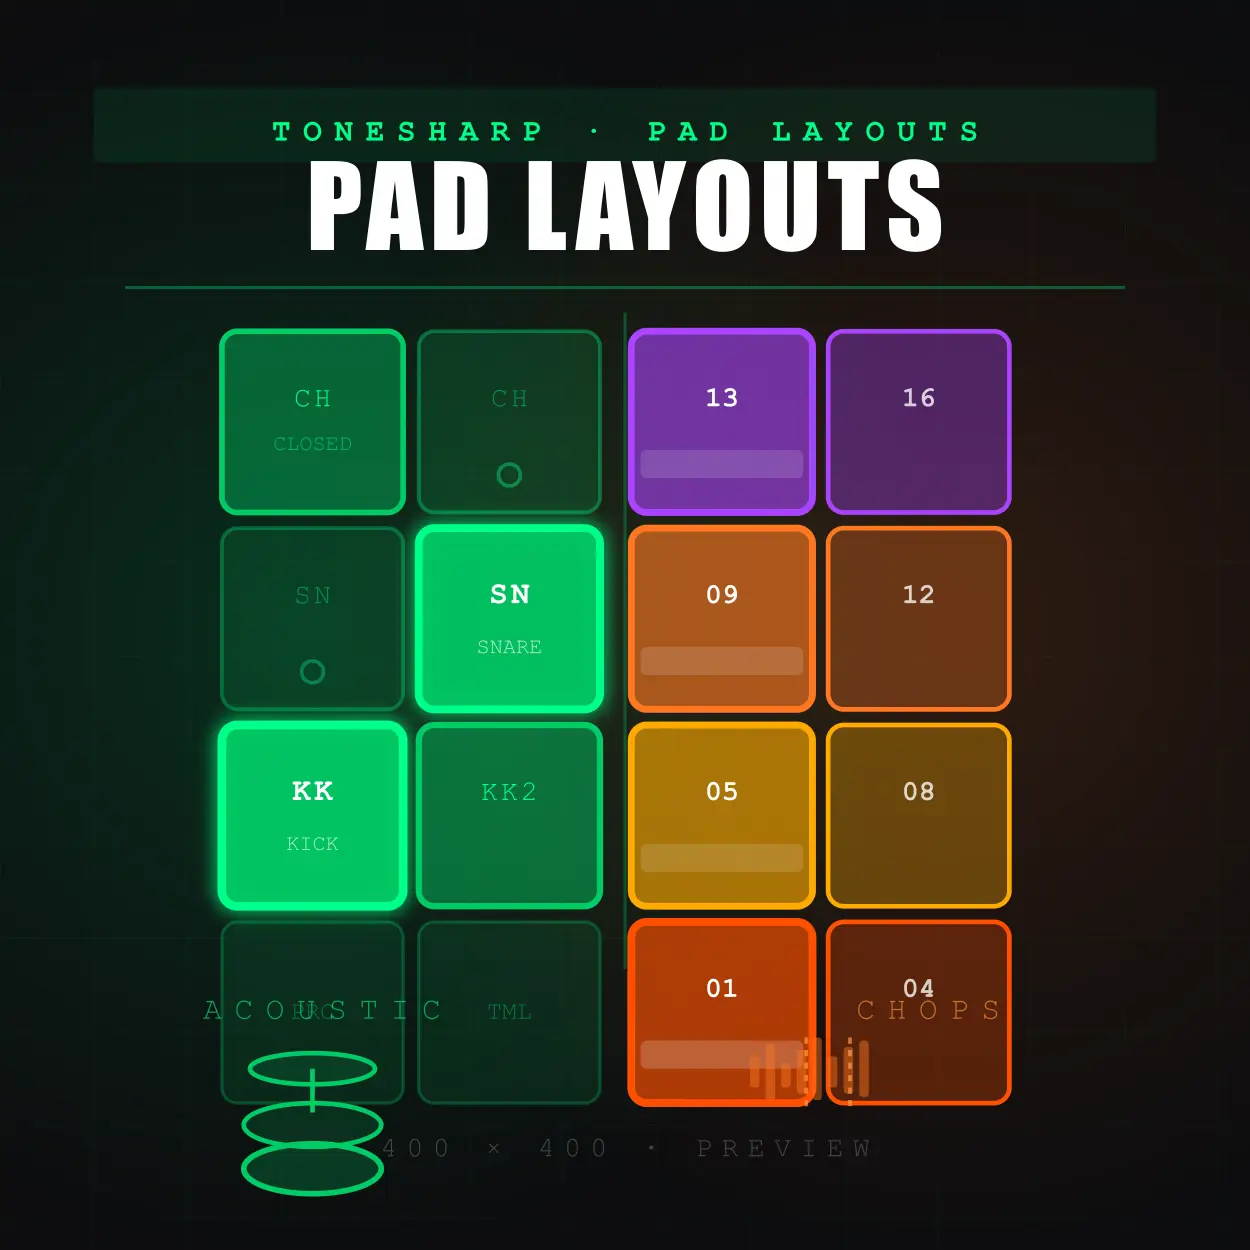
Maschine: In Step mode, the velocity bar beneath each pad step is fully editable — drag each bar individually. In the MIDI piano roll, select all hi-hat notes and use Ctrl+drag to shift relative velocities.
Timing Micro-Shifts

Real drummers never land exactly on the grid. The kick arrives 4ms early because of the drummer’s anticipation. The hi-hat drags 6ms behind. These deviations are too small to consciously hear but their combined absence creates the locked rigidity that makes programmed drums feel inhuman.
Most DAWs include a humanize function precisely for this. The crucial variable is how much you apply.
Ableton: Select the notes you want to shift. Right-click → Humanize, or go to Edit → Humanize. Set the timing offset to 5–8ms maximum. At 10ms or above, individual notes begin to audibly miss the beat — which sounds like sloppiness, not humanity. Apply, then listen back on its own before committing.
Maschine software — timing variation without the controller: There is no Humanize button in the Maschine desktop software menus. The equivalent is done one of three ways.
The first is the Groove tab. Select a Group or Sound, open the Groove tab in the edit panel, and set the Swing amount. This shifts off-beat 16th notes behind the grid, which adds a pulled-back feel rather than random deviation — closer to how a real drummer plays behind the beat on slower tempos.
The second is manual nudging in the piano roll. Select individual notes and drag or use the arrow keys to push them slightly off the grid. Kick slightly early, hi-hat slightly late is a common real-drumming feel worth recreating deliberately.
The third, and fastest, is recording live with the pads at a reduced tempo. Your natural striking variation produces more musical timing imperfection than any algorithm. Record at 70% of your target BPM, then raise the tempo — the timing relationships stay proportionally human.
If you have the Maschine controller: hold PATTERN and press the HUMANIZE pad. This applies randomization directly — 10–15% is the ceiling before it starts sounding like mistakes rather than feel.
The overuse warning applies regardless of method: if you can consciously hear individual notes sitting off the grid, you have gone past human and into drunk. Subtle is the goal. Commit to a setting and move on.
Hi-Hat Variation — The Biggest Single Upgrade
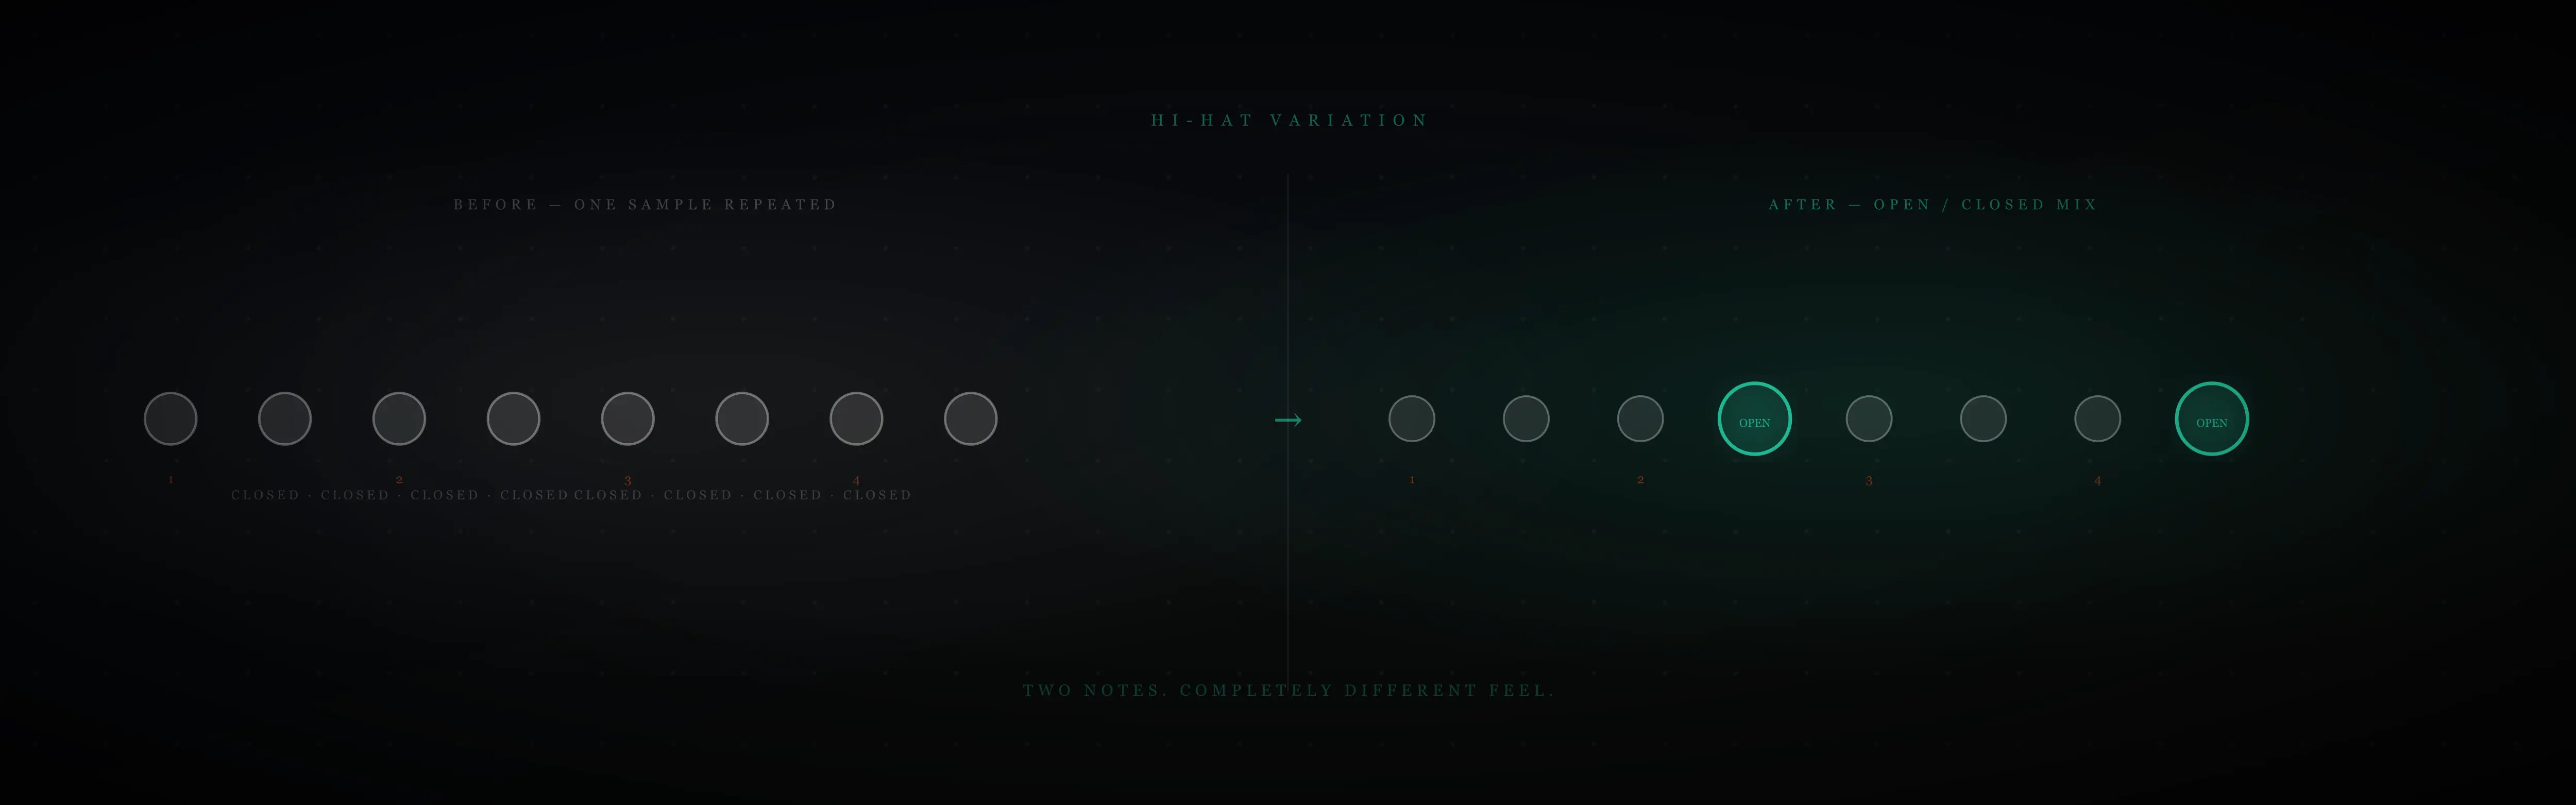
The single most identifiable sign of a programmed beat is a closed hi-hat sample repeated every 8th or 16th note without variation. No human drummer plays one hi-hat sound on loop. Within a single bar, a real player moves between closed, half-open, and open positions — each with a completely different timbre — based on the dynamics of the music and the feel of the groove.
The fastest fix without replaying anything: swap the hi-hat on the “and” of beat 2 and the “and” of beat 4 for an open hi-hat sample. Everything else stays closed. The result is a hi-hat line that breathes.
Compare these two patterns:
Before — one hi-hat sample on repeat:
After — open hi-hat on the “and” of 2 and “and” of 4:
Two notes changed. The hi-hat is now a moving part of the groove rather than a timekeeper.
Ableton — choke groups: In your drum rack, assign your closed hi-hat and open hi-hat to the same choke group (click the pad, set Choke to “1” for both). When the open hi-hat triggers, it cuts the closed hi-hat’s decay — exactly as a real hi-hat cymbal’s foot pedal cuts the open sound. Without the choke, open and closed samples layer unnaturally and smear the transient.
Maschine — choke groups: Load both samples into separate pads in the same Group. In the Pad settings panel, assign both to Choke Group 1. The hardware choke emulation in Maschine is one of its strongest features for realistic drum programming — use it any time you have multiple hi-hat states in a pattern.
The fastest path to a genuinely human hi-hat without MIDI editing: layer a pre-recorded hi-hat loop underneath your pattern at 25–30% volume. A real performance carries natural velocity variation, open/closed transitions, and timing feel that no humanize function fully replicates. The Hi-Hat Loops free demo includes 12 loops specifically for this — load one beneath your pattern and the hybrid result is immediately more alive.
Ghost Notes

Ghost notes are quiet snare hits — 20 to 30% of normal velocity — that sit between the main backbeat. Listeners cannot consciously identify them. What they feel is density: a groove that seems to have more going on without being able to say what. Their absence is one of the clearest markers of programmed drums in genres where human drummers are the reference point.
In a standard four-four pattern, ghost notes typically sit on the weaker 16th positions:
- The “e” of beat 1 (second 16th note of the bar)
- The “a” of beat 2 (eighth 16th note)
- The “e” of beat 3 (tenth 16th note)
- The “a” of beat 4 (sixteenth 16th note)
Ableton: Add snare notes at those positions in your MIDI clip. In the velocity lane, drag them to 20–30 out of 127. They should be barely audible in isolation. When the full pattern plays, they fill the space between backbeats without announcing themselves. If you can clearly hear a ghost note as a discrete hit, it is too loud.
Maschine: In step mode, add those snare steps and pull the velocity bars to the bottom quarter. The piano roll view makes this easy to verify — ghost notes appear as very short bars beneath the full-height main hits. A visual check before listening can save time.
The ghost notes and hi-hat variation from Section 3 together produce a pattern that sounds substantially more like a real performance. Play this and compare to Exercise 1:
The same basic groove — kick on 1 and 3, snare on 2 and 4 — now has open/closed hi-hat movement, ghost notes filling the snare space, and a kick displacement on the “a” of beat 3 that adds forward momentum. The pattern is the same. The feel is not.
For a deeper look at ghost notes in the context of finger drumming practice, the Week 4 section of the 30-day guide covers them as a milestone in developing physical technique.
Where to Go Next
Knowing how to humanize drum patterns is a foundation skill — every producer who programs drums eventually works through these four techniques. The order matters: velocity first, then timing, then hi-hat variation, then ghost notes. Each layer adds something the previous cannot supply.
If hi-hat variation is the fastest single upgrade and you want to skip the MIDI editing entirely, the Hi-Hat Loops free demo gives you 12 recorded loops across tight, open, half-time, and triplet feels. Load one beneath any existing MIDI beat and the difference is audible in seconds.

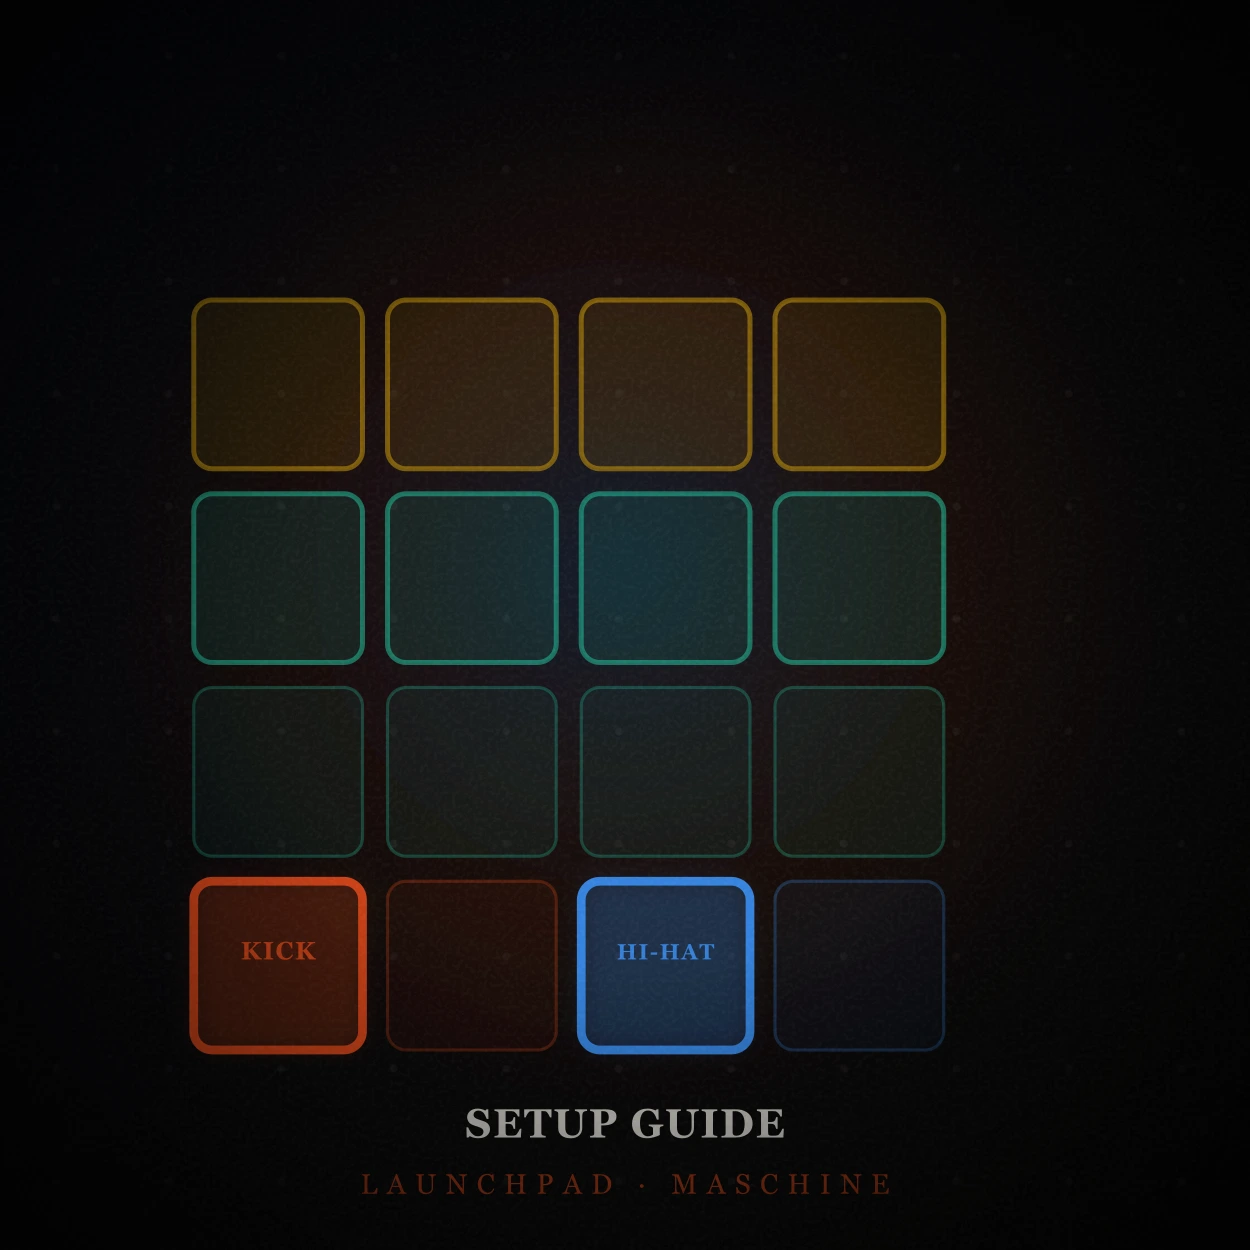
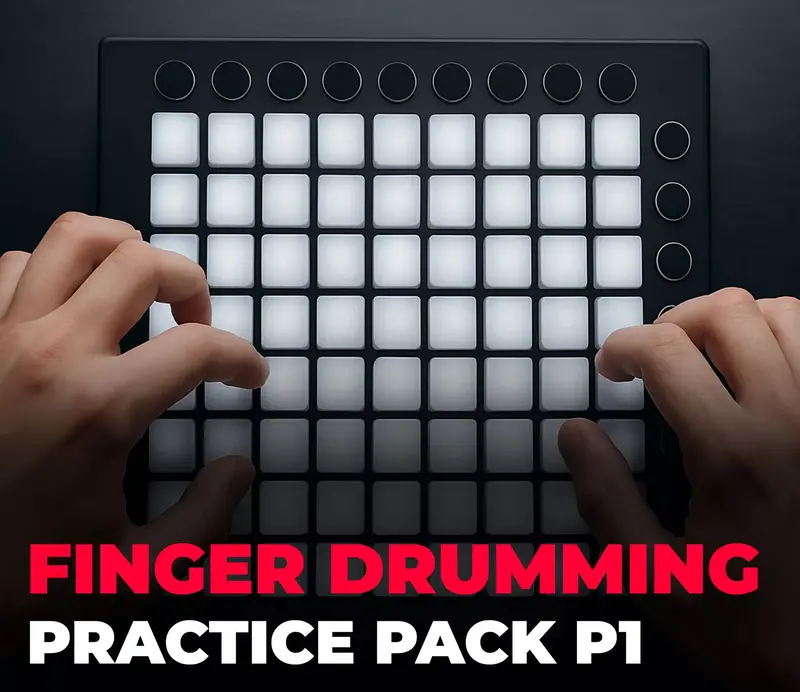
If you want to move beyond programmed drums into playing patterns live, the Launchpad and Maschine setup guide is the right next step. The techniques above — velocity, timing, ghost notes — are the same ones you develop through finger drumming practice. Learning to play them is faster once you understand why they matter.
Related
- 30 Days of Finger Drumming Practice: What Changes
- Launchpad and Maschine Setup for Finger Drumming
- 15-Minute Finger Drumming Practice Routine
Four techniques. One at a time. The pattern does not change. The feel does.
— ToneSharp