Every series on this site follows the same shape. Warm up, drill the pattern, tighten the pocket, chop the sample, protect your hands so you can do it again tomorrow. All of it assumes an audience of one — you, a metronome, and a pair of headphones.
Nobody’s told you what happens the first time you plug your controller into a PA and a room full of people waits on you to start.
That gap is real. It’s the reason a lot of genuinely good pad players never play a note outside their bedroom.
Closing it doesn’t take new finger technique. It takes a different kind of session — one built for jumping around instead of running top to bottom — plus a handful of tools that let you jump without stopping the beat.
What's Inside This Guide
- Why Practicing Isn't the Same as Performing
- Setting Up Your Session: Drum Racks and Scenes
- Structuring a Set: Loop, Groove, Fill, Breakdown
- Going Hands-Free: Foot Controllers and Follow Actions
- Maschine's Own Live Tools (No Laptop Required)
- Keeping It Reliable: Latency, Dropouts, Backups
- Two Real Routines to Study
- Your First Live Set: A Minimal-Gear Starting Point
Why Practicing Isn’t the Same as Performing
Every drill in the 30-day practice routine and every configuration in the pad layouts guide runs on Arrangement View thinking, even if you’ve never opened Ableton’s Arrangement View in your life. Section A happens, then section B happens, then section C happens, in a fixed order you already decided on. That’s exactly how you should practice — it’s how you build the muscle memory in the first place.
A room full of people doesn’t run on a fixed order. The energy might demand three more minutes of groove before you drop the breakdown. Someone might request one more loop through the hook.
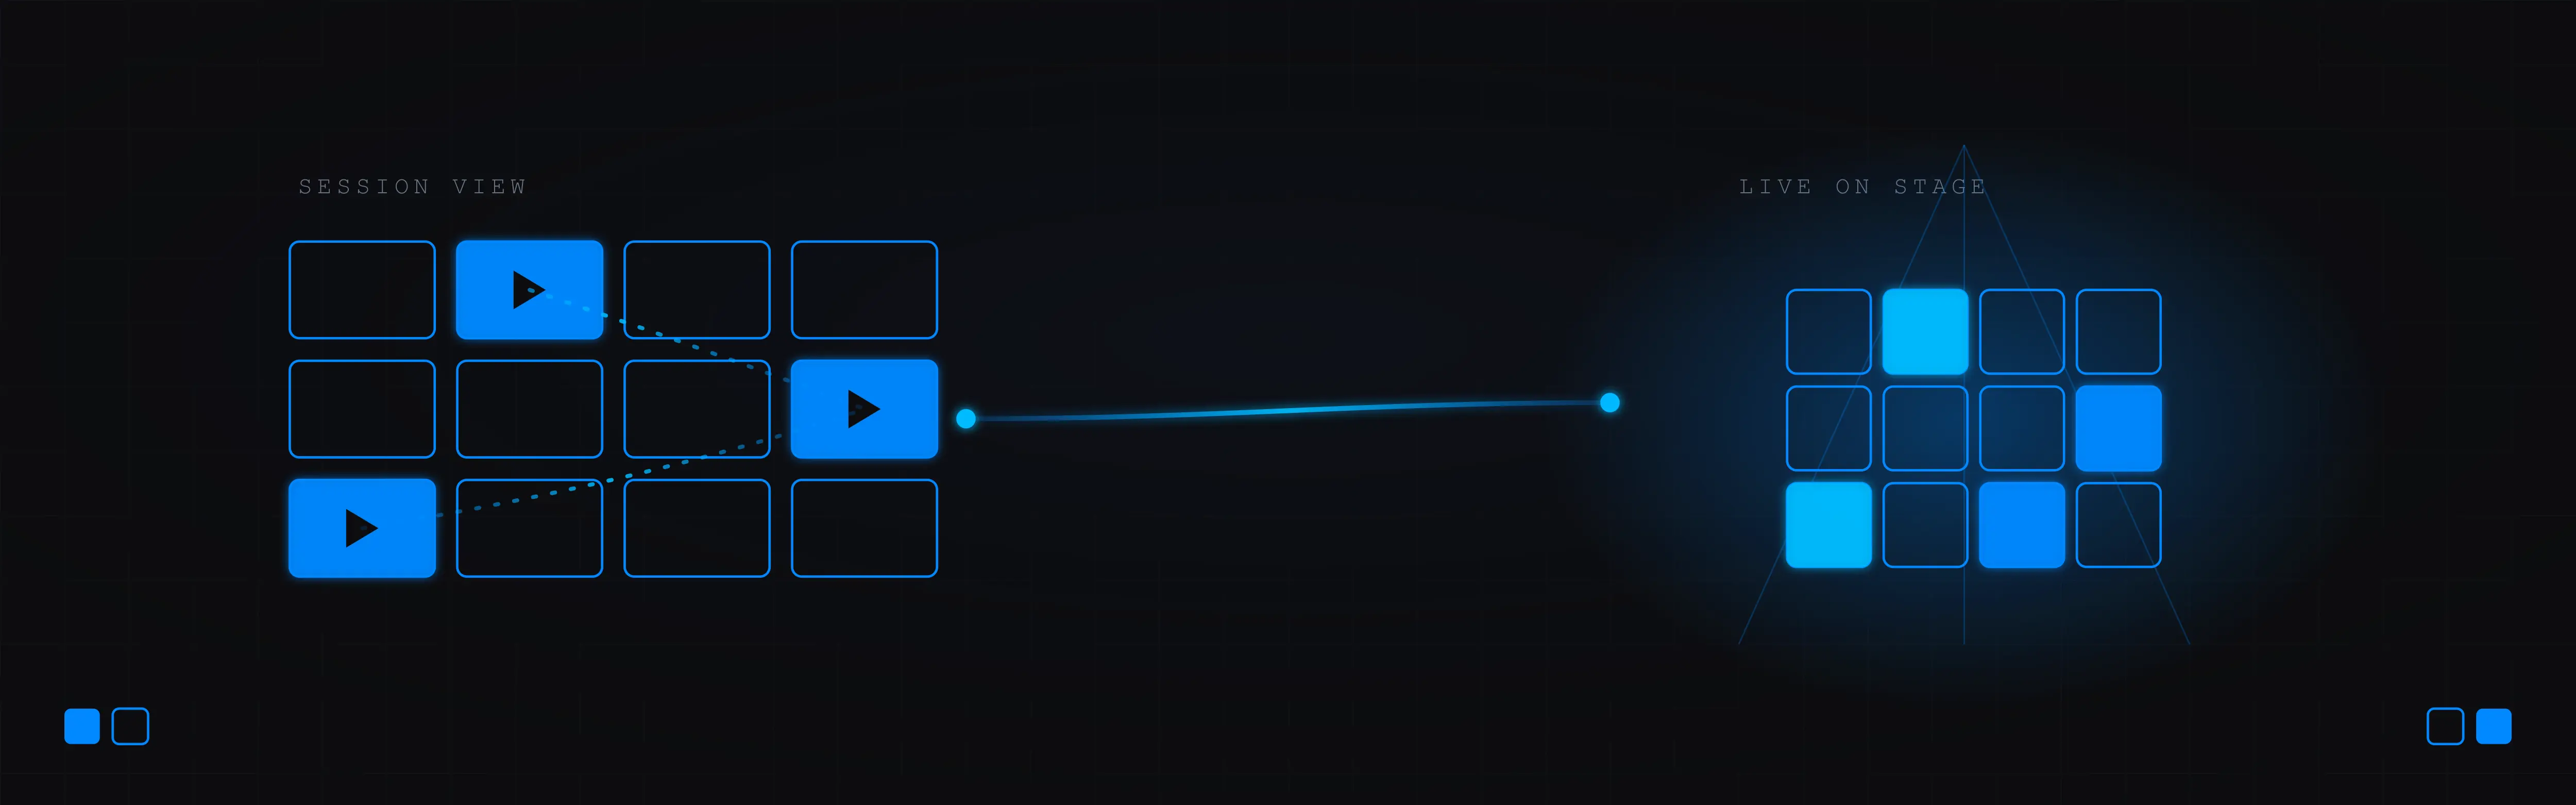
Ableton’s own Session View documentation states this plainly: Session View triggers clips in any order, live, in response to what’s actually happening in the room — the opposite of Arrangement View’s linear timeline. You already have the hands. What you’re missing is a session built so those hands have somewhere non-linear to go.

Setting Up Your Session: Drum Racks and Scenes
This is the first genuinely new technical ground this site has covered — nothing published so far has touched Session View or Drum Racks directly, so it’s worth building the vocabulary from scratch.
A Drum Rack is Ableton’s dedicated instrument for exactly this job: one pad, one sound, laid out on a grid that maps directly onto your controller. Ableton’s own documentation on Instrument, Drum and Effect Racks describes each pad as its own chain — its own sample, its own effects, muted or soloed independently of everything around it. If you’ve been triggering one-shots through a sampler for your practice drills, a Drum Rack is the same idea, just built with live triggering and per-pad isolation in mind from the ground up.
A scene is a full snapshot of your session — every track’s clip, all firing together the instant you hit launch. Build one scene per song section, each with its own clips already armed and its own Drum Rack state:
- Intro
- Groove
- Breakdown
- Fill
- Outro
Ableton’s manual flags a genuinely useful behavior here: “Select Next Scene on Launch.” Fire a scene, and Ableton automatically arms the next one down the list — your next trigger is a single button press away instead of a scan-and-hunt through the grid mid-performance.
Set this up once, correctly, and you’ve done the hard part. Everything after this section is really just deciding how and when you move between the scenes you’ve already built.

Structuring a Set: Loop, Groove, Fill, Breakdown
Scenes give you the container. This section covers what actually goes inside each one, building on ground the Week 5 Fills & Transitions post already covered — fills as punctuation, a way to signal “something is about to change” rather than just decoration on top of a loop.
Live, that vocabulary stops being optional. A fill is no longer a nice touch at the end of an eight-bar phrase — it’s the actual cue your audience, and your bandmates if you have any, use to feel a section change before it lands.
Here’s a groove anchor loop, the kind of pattern that can run safely under a live-drummed section without anyone needing to think about it:
Now the same eight bars, stripped down for a breakdown — no new pattern, no new scene, just everything but the kick pulled out:
Compare the two directly — same pattern, same tempo, only the kick survives. That’s the entire Mute/Solo build technique described in Native Instruments’ own Maschine MK3 manual, in its appendix on playing live: nothing about the underlying pattern changes, you’re just muting and re-soloing pads in real time to build energy back up. It costs nothing to set up in advance and it works whether you’re in Ableton or standalone on the hardware.
The mistake most players make here: treating every scene as a fixed, unchangeable block. A live set that only ever plays its scenes exactly as programmed isn’t really live — it’s a backing track with extra steps. Build in at least one Mute/Solo moment per section so the audience hears you actually playing, not just launching clips.

Going Hands-Free: Foot Controllers and Follow Actions
Every scene change so far has assumed a free hand to hit a button. On stage, your hands are usually both busy on the pads exactly when you need to trigger the next section. There are two real solutions, and they solve slightly different problems.
Follow Actions are Ableton’s built-in answer — a per-clip setting that tells a clip what to do once it finishes playing, without you touching anything. Ableton’s Session View manual documents options like Play Next, Play Previous, and Play Any, which can be set to fire after a set number of bars automatically. This is the right tool for content that should evolve on its own — a hi-hat or percussion layer that shifts variation every four or eight bars without you having to remember to change it manually.
Foot controllers solve the opposite problem: moments where you decide the timing, not a pre-set bar count. Ableton’s MIDI and Key Remote Control documentation covers mapping any external MIDI message — including a footswitch — directly to a scene launch or clip trigger. In practice, a stomp box under the desk becomes a third hand.
Players in this space commonly reach for a Loop4Live, a Looptimus, or a Behringer FCB1010, mapped as a simple MIDI note trigger to your next-scene command. None of these need to be expensive or complicated — a single-switch unit mapped to “launch next scene” already covers most of what a live set needs.
Use both. Let Follow Actions handle texture that should shift on autopilot, and keep the foot controller for the handful of moments where the room tells you when to move, not the clock.
Maschine’s Own Live Tools (No Laptop Required)
Everything above assumes a laptop running Ableton. If your rig is a Maschine MK3 — which, full disclosure, is what’s sitting on my own desk — there’s a parallel toolkit built directly into the hardware, and it’s worth knowing even if you normally run through a computer, because it’s your fallback when the computer isn’t an option.
Maschine+ groovebox owners get this in its purest form: Ideas mode for capturing loop ideas without committing to a fixed arrangement, and Scenes for recombining those ideas on the fly, all standalone, no laptop required. Native Instruments’ own Maschine+ product page frames this explicitly around live, no-computer performance — it’s not a workaround, it’s the design intent.
On the MK3, the live-performance appendix in Native Instruments’ manual points to a few features worth building your set around specifically:
- Perform Grid — a dedicated view for recombining scenes quickly, built for exactly the kind of on-the-fly reordering a live set demands.
- Pad Input Modes — switch a bank of pads between drumming, melodic, and chord playing modes mid-set, without repatching anything.
- The lock button — freeze a set of parameters so you can tweak a filter or a send live, then snap back to the locked state cleanly for the next transition instead of hoping you remember where the knob started.
Here’s a fill pattern built for exactly that moment — the cue you’d play right before triggering a Perform Grid change or a scene launch, reusing the fills vocabulary from the Week 5 post rather than re-teaching it:
The crash on the last step is doing the actual work — it’s the audible signal, to you and to anyone watching, that a change is about to land.

Keeping It Reliable: Latency, Dropouts, and Backups
This is the unglamorous section, and it’s the one most tutorials skip. It matters more than any of the musical choices above, because none of them are worth anything if the rig fails mid-set.
Start with the myth: USB MIDI is “too slow” for live playing. It isn’t.
Sound on Sound’s own measured testing clocked USB MIDI interfacing at roughly 4.8ms of input latency with about 1.9ms of jitter — both comfortably under the ~5ms window most musicians can actually perceive as a delay. If your pads feel laggy on stage, the cable isn’t the problem.
What actually causes dropouts is buffer size fighting CPU load, plus driver choice — ASIO on Windows, Core Audio on Mac, per the same Sound on Sound piece. A buffer set too small for what your session is actually doing (background scans, plugin-heavy tracks, a laptop that decided now was the time to run a system update) is where real, audible glitches come from, not the USB connection carrying your pad hits.
The practical checklist:
- Raise your buffer higher than your studio habit before a gig.
- Close everything you don’t need running.
- Keep a standalone fallback that needs no computer at all — a Maschine set built on the Ideas/Scenes workflow above covers this.
If the laptop dies mid-set, you don’t stop the show. You keep playing.
Two Real Routines to Study
Everything above is structure. These are two performers who actually built a live set around it, sitting at opposite ends of the spectrum — worth studying side by side, not as “the right way” but as two different valid starting points depending on what you’ve actually got to work with.
DJ TechTools documented Izn’s Dirtybird live remix set in a routine breakdown: two Maschines, two Ableton instances, running simultaneously alongside a live trumpet player, a turntablist, a keys player, and a vocalist. It sits at the full-band end of the spectrum — a rig designed to hand control back and forth between multiple live musicians without anyone stepping on anyone else’s part.
DJ TechTools profiled Coby Ashpis as a finger drumming champion in his own right, sitting at the opposite end entirely: one performer, one rig, no band to coordinate with or hand cues to. Everything Izn’s setup solves with a second musician, Ashpis solves with a single, tightly rehearsed set of scene changes and fills.
Neither is more “legitimate” than the other. If you’re playing solo, Ashpis’s approach — deep rehearsal on a minimal rig — is the realistic target. If you’re already jamming with other musicians, Izn’s routine is proof that a Maschine setup scales up to a full band without losing what makes it a finger drumming performance in the first place.

Your First Live Set: A Minimal-Gear Starting Point
You don’t need two Maschines, a foot controller, and a full band to play your first show. Here’s the genuinely minimal version:
- One pad controller. No foot controller yet — that’s a second-set upgrade, not a first-set requirement.
- 3–4 scenes. Intro, groove, breakdown, outro. That’s a complete arc, and it’s more than enough to fill a short live slot.
- Mute/Solo builds instead of Follow Actions. One less thing to configure, and it puts the timing decision in your hands, which is exactly where you want it your first time out.
Need material to build that first set around instead of starting from a blank session? Trap Drums Vol. 1 delivers exactly that — 305 mix-ready trap drum samples and MIDI rolls you can drop straight into a Drum Rack instead of chopping a new kit from scratch before you’ve even set your first scene. The Sample Chopping post leans on the same bridge for the same reason: the fastest way to a finished set is starting from material that’s already usable.
Play that four-scene set for a friend, a small room, even just a phone camera pointed at your hands. The gap between practicing and performing only closes one way — by actually doing the second thing.