Affiliate Disclosure: This post contains affiliate links. If you buy something through one of these links, I may earn a small commission at no extra cost to you. I only recommend gear I have actually used or would genuinely buy myself.
Most finger drumming content treats the pads like a drum kit replacement — kick here, snare there, hi-hat rolls on top. We've covered that half extensively. The other half of the tradition gets almost no attention: chopping a sample and playing the pieces back as an instrument, not just a drum kit.
That half is having a real moment right now. Akai's MPC Sample — a small , battery-powered hardware sampler built explicitly around "sample, chop, and build beats anywhere" — became one of the most talked-about pieces of gear in 2026, and most of that conversation is about exactly this skill: turning a recorded loop into something you perform with your hands instead of just play back.
This guide walks the whole path in order: where the technique actually comes from, what gear you need (less than you'd think), how chopping mechanically works inside Maschine, how to map the result onto a pad layout, how to play it inside a real beat, and five specific techniques worth knowing once the chops are sitting under your fingers.
What's Inside This Guide
Where Sample Chopping Actually Comes From
Sample chopping isn’t a finger drumming invention — finger drumming borrowed it. The technique is as old as the MPC60 and the E-mu SP-1200, the two machines that defined late-80s and early-90s hip-hop production. Pete Rock and DJ Premier built entire careers on the SP-1200’s gritty 12-bit chop; J Dilla pushed the MPC3000 in the opposite direction, slicing soul loops into pieces small enough to reassemble into something the original recording never played.
The principle hasn’t changed in three decades: take a recorded loop, cut it into pieces at the points that matter — a kick, a vocal syllable, a chord change — and assign each piece to a trigger. What’s changed is the trigger. It used to be a rubber pad wired to a sampler. Now it’s the same idea on a Maschine or Launchpad grid, with the added option of finger drumming it live instead of only sequencing it in a piano roll.

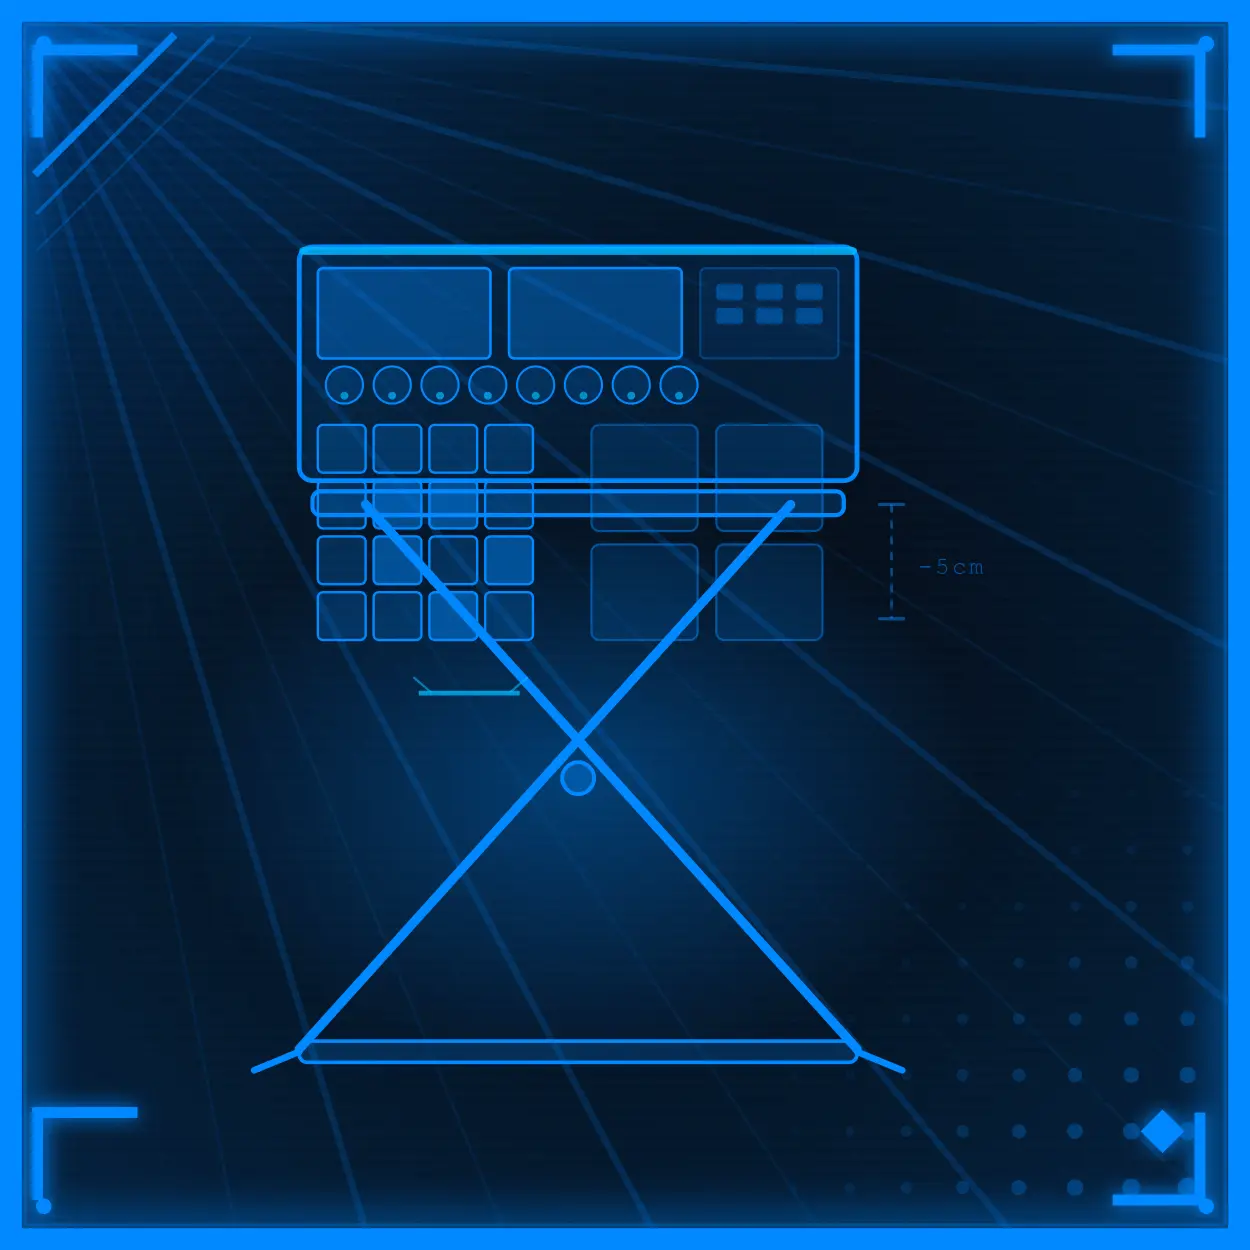
Basic Setup: What You Actually Need
You need three things, and none of them are exotic.
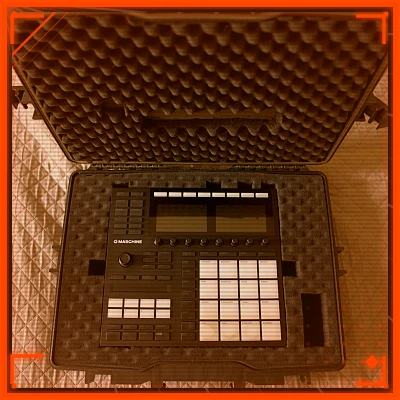
A sampler with pads. Maschine, an MPC, or a Launchpad running Ableton’s Simpler/Slice mode all do the job — the pads just need to be able to trigger individual slices of audio. This guide uses Maschine MK3 for the walkthrough because that’s what’s on my desk, but the underlying steps map onto any of them.
A DAW. For recording the performance once the chops are playable, not for the chopping itself.
Source audio. A loop you’ve recorded yourself, a break you have clearance to use, or a royalty-free pack. If you don’t have source material lying around yet, something like our own FREE Melody Synth Sample Pack works fine as practice material — the point of this guide is the technique, not which pack you chop.
That’s it. No outboard gear, no specific software version. The skill lives in the slicing decisions, not the box you make them in.

How Chopping Works in Maschine
Drop a loop into a Sound slot and switch it into Slice mode. From there you have two real options, and they solve different problems.
Transient detection scans the waveform and places slice markers automatically at the points where it detects an attack — a kick, a snare crack, the start of a vocal phrase. It’s fast and usually close, but never trust it blindly. On my own sessions it regularly misplaces the marker on a soft vocal entrance or a bass note with a slow attack, because the software is looking for amplitude jumps, not musical events. Always audition each slice by ear before you commit.
Even grid slicing ignores the waveform entirely and divides the loop into a fixed number of equal pieces — 16 is standard for a one-bar loop. This is the older, more mechanical method, and it’s actually the right call more often than producers expect: if your loop already has a steady rhythmic pulse, equal slices line up with it naturally, and you skip the babysitting that transient detection demands.
Once you’ve got slices you trust, Maschine auto-assigns them across a group of pads in order. From there it’s just housekeeping: trim any slice with dead air at the front, normalize the louder and quieter pieces so they don’t fight each other, and — if you want a quick textural variation for free — try reversing one slice. A reversed vocal chop sitting next to its forward original is a cheap, reliable way to get a second usable sound out of one slice.

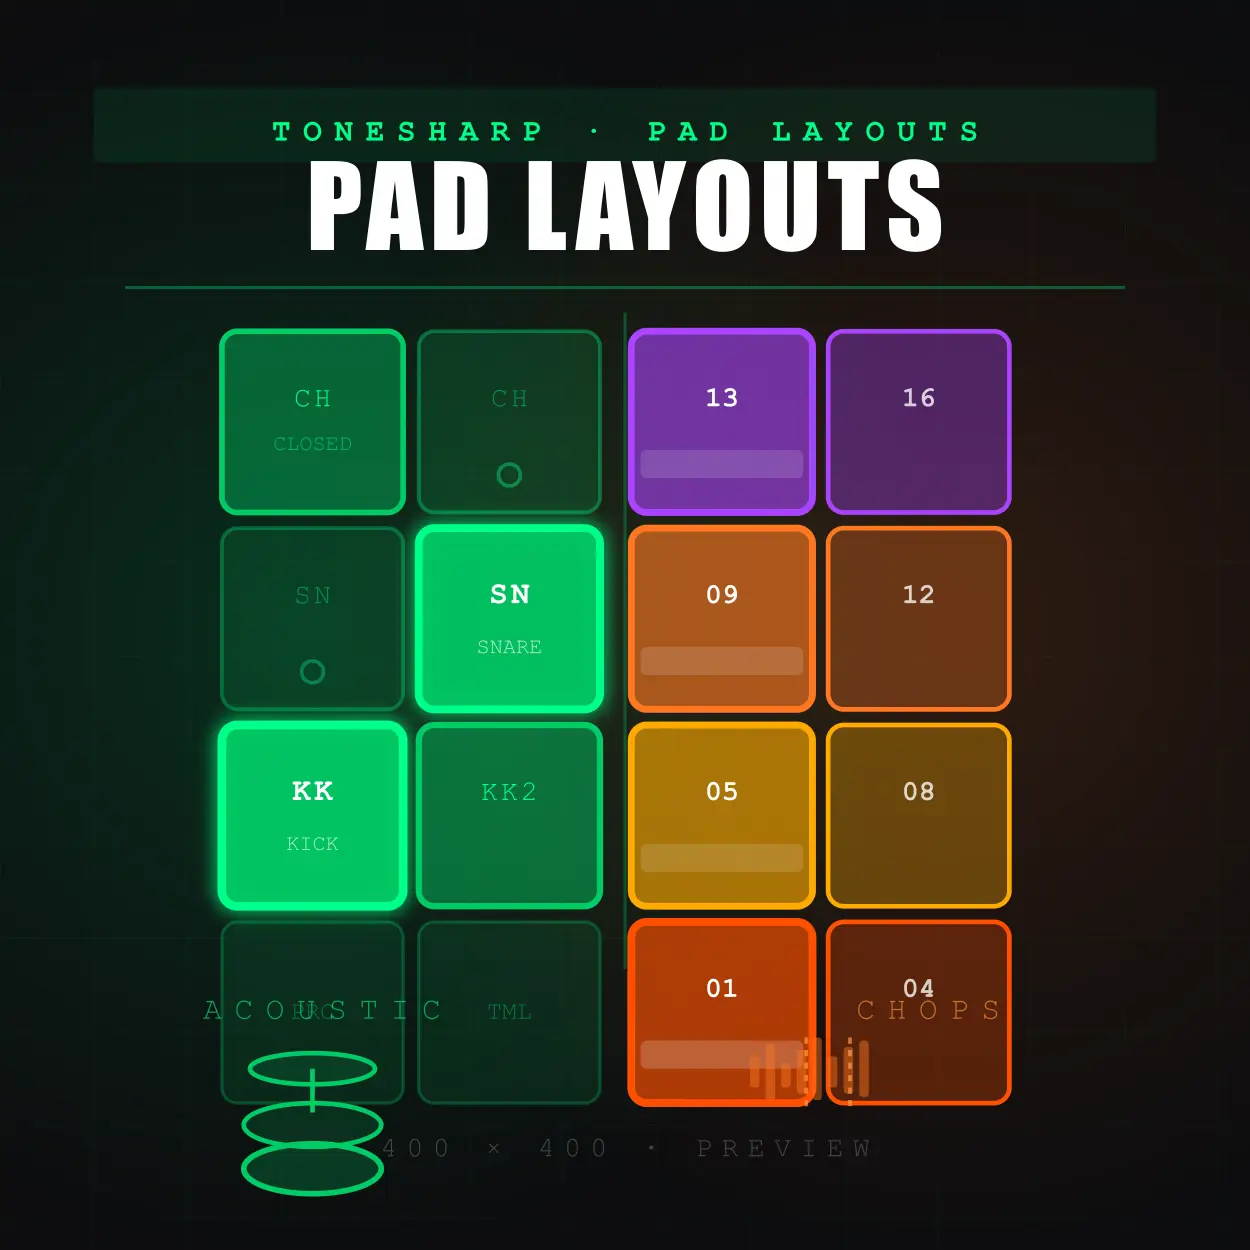
Mapping Chops to a Pad Layout
The Chop Matrix layout from the pad-layouts guide already covers the architecture — kick and snare compressed into one or two pads, the rest of the grid given over to slices. What that guide didn’t get into is what you actually do with the slices once they’re sitting there, which is the more useful question.
The default assignment is chronological — slice 1 on pad 1, slice 2 on pad 2, and so on, which simply replays the original loop in order if you play the pads left to right. That’s worth doing once, as a sanity check that your slices line up. It is not the technique. The technique is breaking that order on purpose:
Original order:   CHOP1 CHOP2 CHOP3 CHOP4   (= the source loop, unchanged)
Rearranged:        CHOP3 CHOP1 CHOP4 CHOP2   (= a new phrase from the same material)
Same four sounds, different sequence, and the second version is a melody that never existed in the source recording. Here’s that idea with a kick and snare added underneath two melodic chops, played out of their original order:
Chop A and Chop B never land on the same step the source loop originally used them — that’s deliberate. Reordering is the entire value of chopping over just looping.

Playing a Chop Inside a Real Beat
The pattern above is already the answer to this section, just stated as a principle: drums hold the pocket, the chop moves around inside it.
Kick and snare do the job they always do — they tell the listener where the beat is. The chop’s job is different. It’s not rhythm, and it’s not exactly melody either; it’s texture that happens to land on a grid. Treat it accordingly: fire it on offbeats, leave gaps around it, and resist the urge to play every slice every bar just because they’re all sitting there ready to go.
💡 Real Talk: The most common beginner mistake here isn't a wrong note — it's too many notes. A chop pattern that fires constantly stops sounding like a performance and starts sounding like the loop button got stuck. Leave space. The original recording had silence in it too.
Four Sample-Plus-Beat Techniques
Once the chops are mapped and playable, these four show up constantly across hip-hop, boom-bap, and lo-fi production — in roughly the order you’ll reach for them.
1. The Stutter Chop
Retrigger one slice rapidly — three or four hits in the time a single note would normally occupy — for a rhythmic stab rather than a sustained sound. It’s the sample-chopping equivalent of the hi-hat roll: a burst, not a note.
2. The Loop Flip
Take a clean two- or four-bar chunk played in the original chronological order and let it run as the rhythmic bed under new drums on top. This is the Pete Rock/Premier-era move — the loop itself barely changes, but a fresh drum pattern around it makes it sound like a new record.
Compare this to the chop-layout demo above — same four sounds, but here Chop A and Chop B fire once each, in their original order, the way they sat in the source recording. That’s the whole flip: nothing about the loop changed, only what’s playing underneath it.
3. Live Bank-Switching
Load a second sample bank and trigger a full switch mid-performance — different chops, same kick/snare anchor — for a live remix or DJ-style transition. This only works if your kick and snare stay on the same pads across banks; that consistency is what lets the switch feel intentional instead of like the beat fell apart.
Bank A:   PAD1 KICK   PAD2 SNARE   PAD3 CHOP A1   PAD4 CHOP A2
Bank B:   PAD1 KICK   PAD2 SNARE   PAD3 CHOP B1   PAD4 CHOP B2
A pad-player loop can’t show a mid-performance switch — it’s a live action, not a pattern — but the table above is the whole technique: switch banks and the only thing that changes is what’s under your other two fingers. The anchor never moves.
4. One-Shots Under the Chop
Layer a drum one-shot pack underneath a melodic chop instead of relying on the chop’s own kick and snare slices, which are usually thin compared to a dedicated drum sample. Packs like Trap Drums Vol. 1 exist for exactly this — punchier low end under your melodic material without re-chopping a new kick out of the original loop every time.
Notice the kick and snare here are doing more work than they were in the chop-only demos above — they’re not just keeping time, they’re giving the chop a rhythmic floor to sit on.
Five techniques, one underlying skill: you’re not just playing back what you recorded, you’re reorganizing it into something the original never was. That’s the whole difference between looping and chopping, and it’s worth more practice time than most finger drumming guides give it credit for.
— ToneSharp
Related
- The Definitive Guide to Finger Drumming Pad Layouts
- Hi-Hat Roll Mastery for Finger Drummers
- How to Make Your Beats Sound More Human Without Live Drums