🔥 Why You Need to Warm Up (Even Though It Feels Boring)
Week one gave you a real feel feel for what it means to strike a pad properly. Your fingers now recognize the difference between a tense, forced hit and a relaxed strike with natural rebound. That’s solid progress.
This is where many people slip up in week two: they jump straight into playing beats without warming up their hands first.
I get it. Warm-ups can feel boring when all you want to do is make music.But skipping them almost always causes problems down the line. It’s like trying to lift your heaviest weight without warming up first.
Your hands need steady blood flow to stay loose and responsive. Cold, stiff fingers don’t move smoothly, so you end up forcing the motion. That tension quickly becomes your default playing style, and trust me, that’s not something you want to build habits around.
Here’s what just five minutes of warm-up actually does for you:
- Gets blood flowing to your forearms and fingertips, so your fingers respond faster and feel more controlled
- Syncs your brain and hands before you try coordinating multiple fingers at once
- Reveals hidden tension before it turns into a problem halfway through your practice session
Seriously, just warm up. Five minutes at the start can save you twenty minutes of frustrated practice where nothing sounds right and your hands feel stiff and unresponsive.
What's Inside This Practice Guide
🎯 Three Warm-Up Exercises That Actually Work
These three exercises wake up your hands without overwhelming them. Start every session with these, even on days when you’re tempted to jump straight into the fun stuff.
Exercise 1: Index and Middle Finger Alternation
This exercise is simple, but it’s essential. The control you build here carries over into every beat you’ll ever play.
What you're doing: Hit a single pad, alternating between your middle and index fingers of your left hand.
What to focus on:
- Keep everything loose—your wrist, fingers, and arm
- Let the pad naturally rebound your finger
- Aim for similar volume between both fingers
- Notice which finger feels weaker (it’s often the middle finger)
There’s no need to play fast here. The goal is even movement and relaxed control.
Practice this for 1–2 minutes before moving on. Then repeat the same exercise with your right hand, keeping the movement identical—same tempo, same pad, same relaxed feel.
💡 Real Talk: Your middle finger will probably sound quieter than your index finger. That’s completely normal. Everyone’s middle finger is weaker at first. Don’t try to fix it by pressing harder. Just notice it and keep practicing. The strength will come naturally.
Exercise 2: Moving Between Two Pads
Now you’re adding movement. This is where hand–eye coordination really starts to develop.
What you're doing: Move back and forth between two pads using only your index finger.
What to focus on:
- Your hand should glide smoothly between pads, not jerk or jump
- Keep your wrist relaxed—avoid locked or stiff movement
- Watch your hands instead of staring at the screen
- Use the same technique and touch on both pads
Play this sequence 8 times with your left hand, then switch to your right hand and repeat it 8 more times, keeping the same relaxed movement and tempo.
Exercise 3: The Four-Pad Finger Independence Drill
This one’s more challenging. Each finger gets its own pad, and they all have to work independently.
What you're doing: Play four pads in a descending pattern, using one finger per pad.
Left Hande - Which finger hits what:
- PAD13 (Clap): Pinky finger
- PAD10 (Hi-hat): Ring finger
- PAD7 (Snare): Middle finger
- PAD4 (Kick): Index finger
What to focus on:
- Each finger stays on its assigned pad—no shortcuts
- Keep the rhythm smooth, even if some fingers feel awkward
- Your ring and pinky will feel weak and uncoordinated at first—that’s normal
- Resist the urge to speed up through uncomfortable parts
Run this pattern 4 times with your left hand, then repeat the same 4 times with your right hand. If your ring or pinky keeps missing the pad, lower the tempo until you can hit consistently.
Right Hand - Which finger hits what:
- PAD16 (Clap): Pinky finger
- PAD11 (Hi-hat): Ring finger
- PAD6 (Snare): Middle finger
- PAD1 (Kick): Index finger
💡 Real Talk: If your pinky can’t hit the pad reliably yet, use your ring finger instead for now. Pinky strength takes weeks to develop. Forcing it too early just builds bad habits. You’ll get there.
🥁 Your First Real Beat Patterns
Alright, now we’re getting to the fun part. You’re about to play an actual beat. Nothing flashy, just something that genuinely sounds like music.
We’re keeping things simple on purpose. The goal isn’t to impress anyone—it’s to build coordination, timing, and control.
Pattern 1: The Basic Four-on-the-Floor Kick
This is where almost every electronic beat begins. One kick on each beat. It’s called four-on-the-floor, and it’s been the backbone of dance music for decades.
What you're playing: One pad, steady quarter-note kicks.
What to focus on:
- Use whichever finger feels strongest (usually your index)
- Every hit should land at the same volume
- Feel the pulse—this is the heartbeat of the beat
- Keep your shoulders and wrist relaxed
Loop this for 2–3 minutes until your hand can play it almost automatically. When you stop thinking about it, you’re on the right track.
Pattern 2: Adding the Snare (Kick + Snare)
Now it starts feeling like a real groove. The snare lands on beats 2 and 4. Combined with the kick, this creates one of the most fundamental rhythms in modern music.
What you're playing: Kick on every beat, snare on beats 2 and 4.
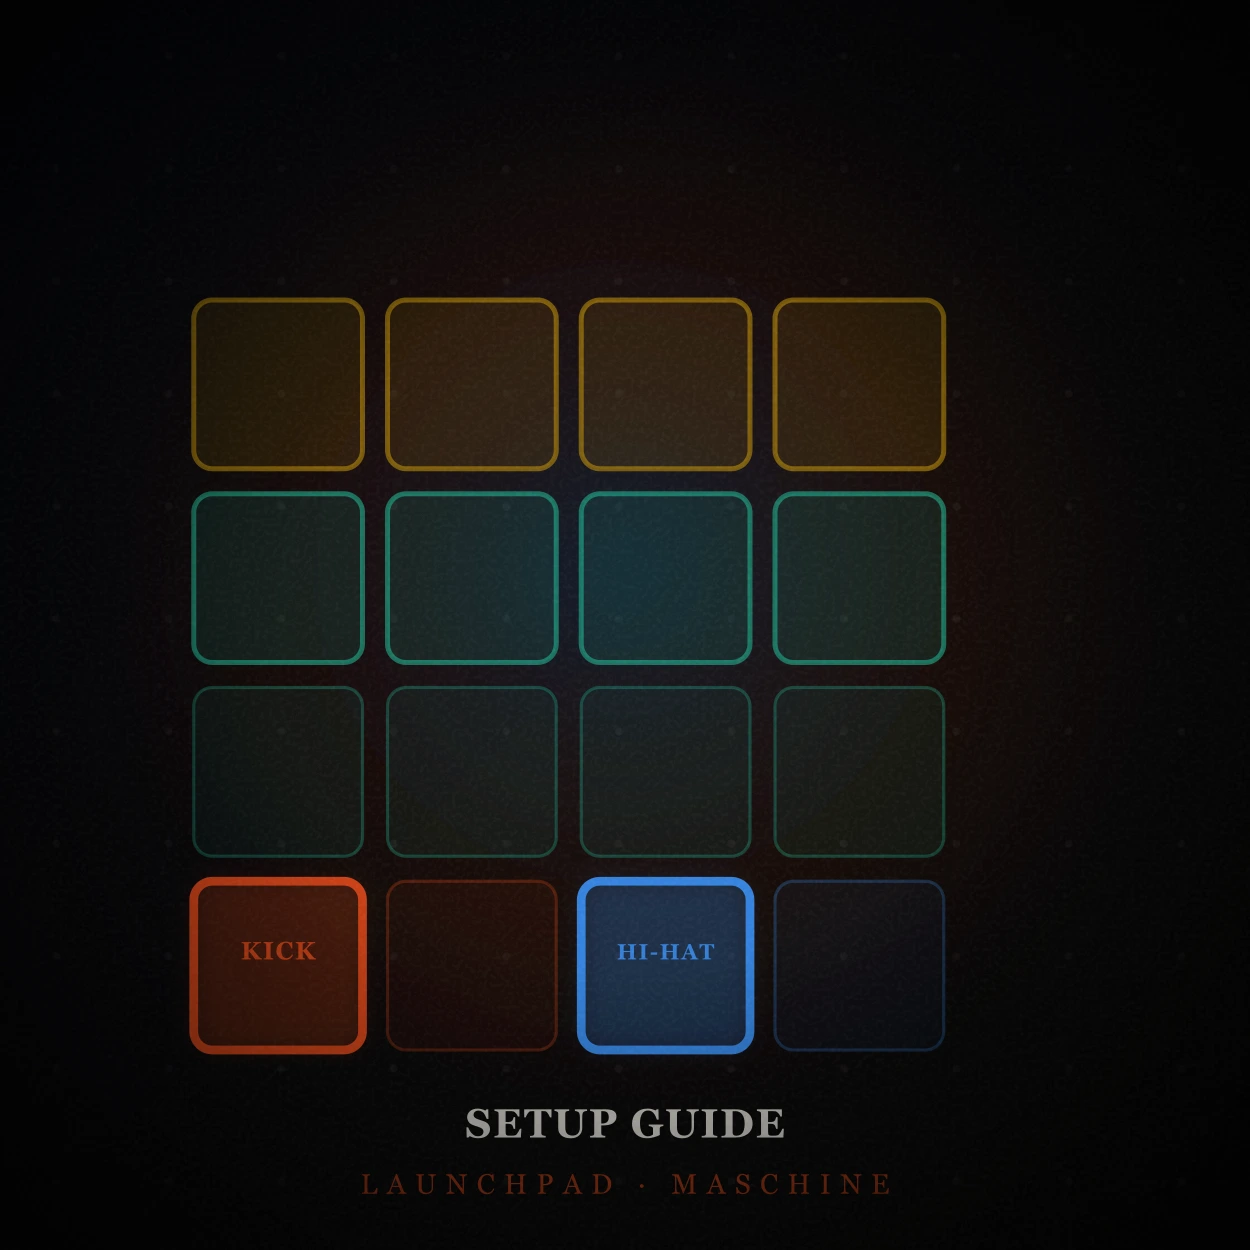
Which finger does what:
- PAD1 (Kick): Index finger on your left hand—keeps the steady pulse
- PAD2 (Snare): Index finger on your right hand—hits only on 2 and 4
What to focus on:
- Your left hand keeps the kick steady and consistent
- Your right hand waits, then drops the snare cleanly on 2 and 4
- Both hands move independently without tensing up
- Don’t let the kick get quieter when the snare comes in
This is your first real beat. Practice it until you can loop it smoothly for a full minute without losing timing.
💡 Common Problem: If your kick gets quieter when you add the snare, your brain is adjusting to coordinating both hands at once. Slow the tempo down and focus on keeping the kick volume consistent.
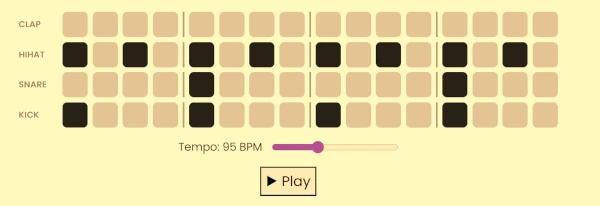
Pattern 3: Adding the Hi-Hat (Kick + Snare + Hi-Hat)
This is where the beat really comes alive. The kick and snare stay exactly the same, but now you’re adding a steady hi-hat to fill in the spaces. This turns a simple rhythm into something that actually grooves.
What you're playing: Kick on every beat, snare on beats 2 and 4, hi-hat on steady eighth notes.
Which finger does what:
- PAD1 (Kick): Index finger on your left hand—keeps the pulse grounded
- PAD2 (Snare): Index finger on your right hand—hits on 2 and 4
- PAD3 (Hi-hat): Middle finger on your right hand—plays steady eighth notes
What to focus on:
- Your left hand stays locked into the kick without changing volume
- Your right hand separates duties between snare and hi-hat
- The hi-hat should feel light and even, not forced
- Keep everything relaxed—tension shows up fast when three sounds are involved
This is a foundational groove. Practice it slowly until each part feels independent, then loop it for one full minute without drifting off time.
💡 Common Problem: If everything falls apart when the hi-hat comes in, slow the tempo down. Your hands are learning to multitask. Clean coordination always comes before speed.
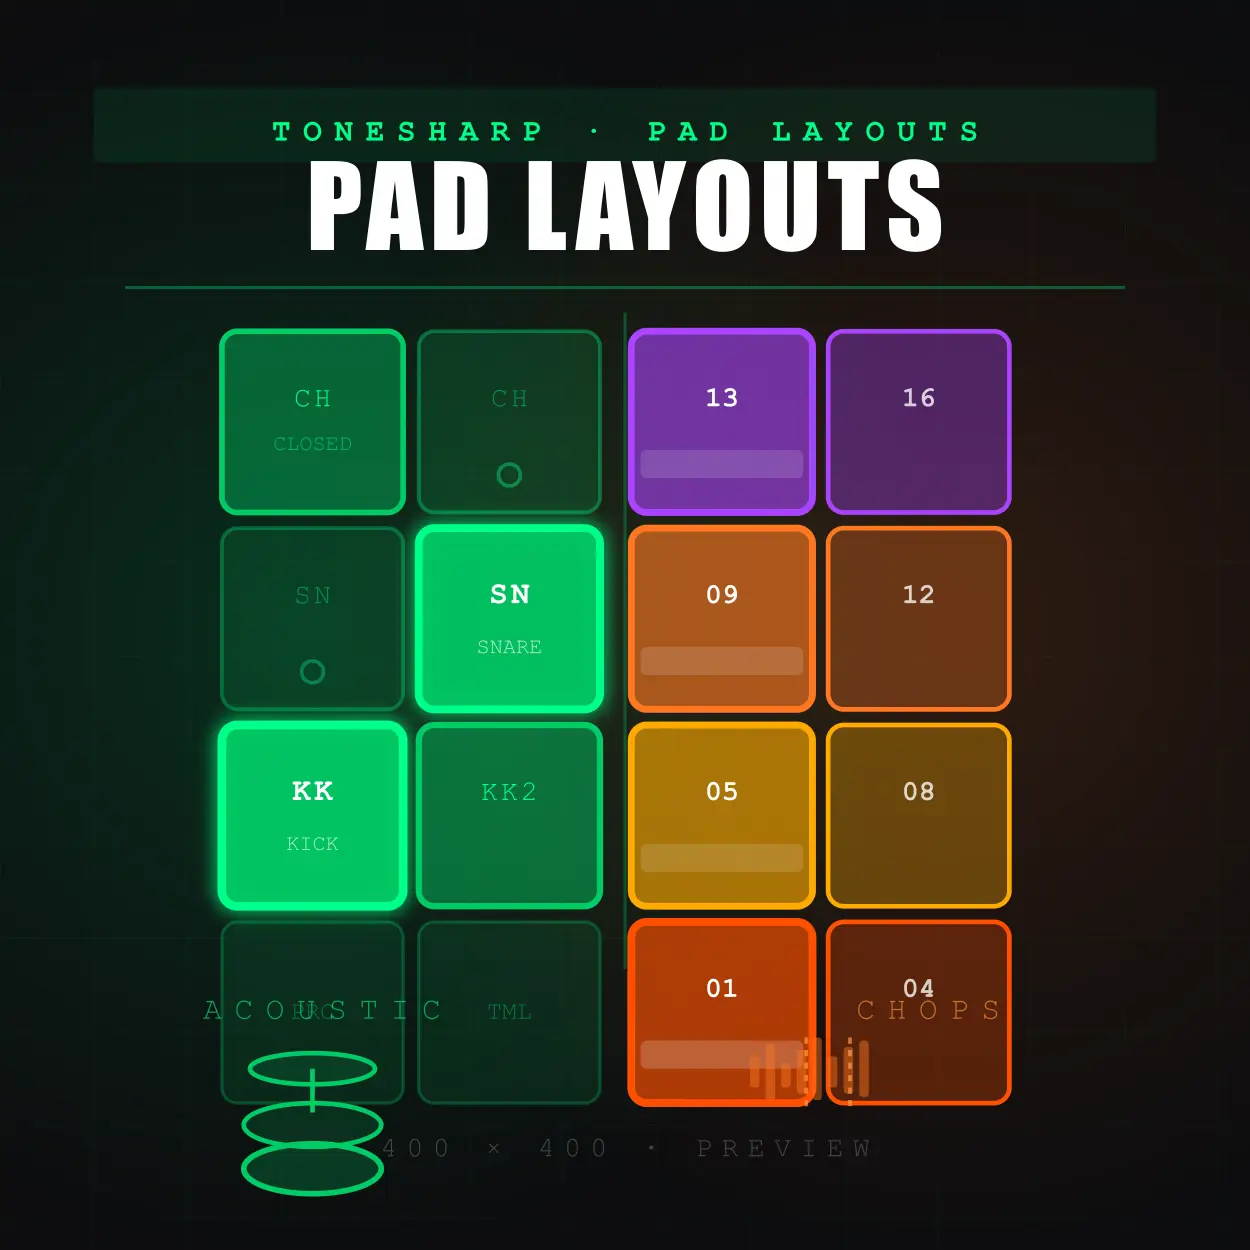
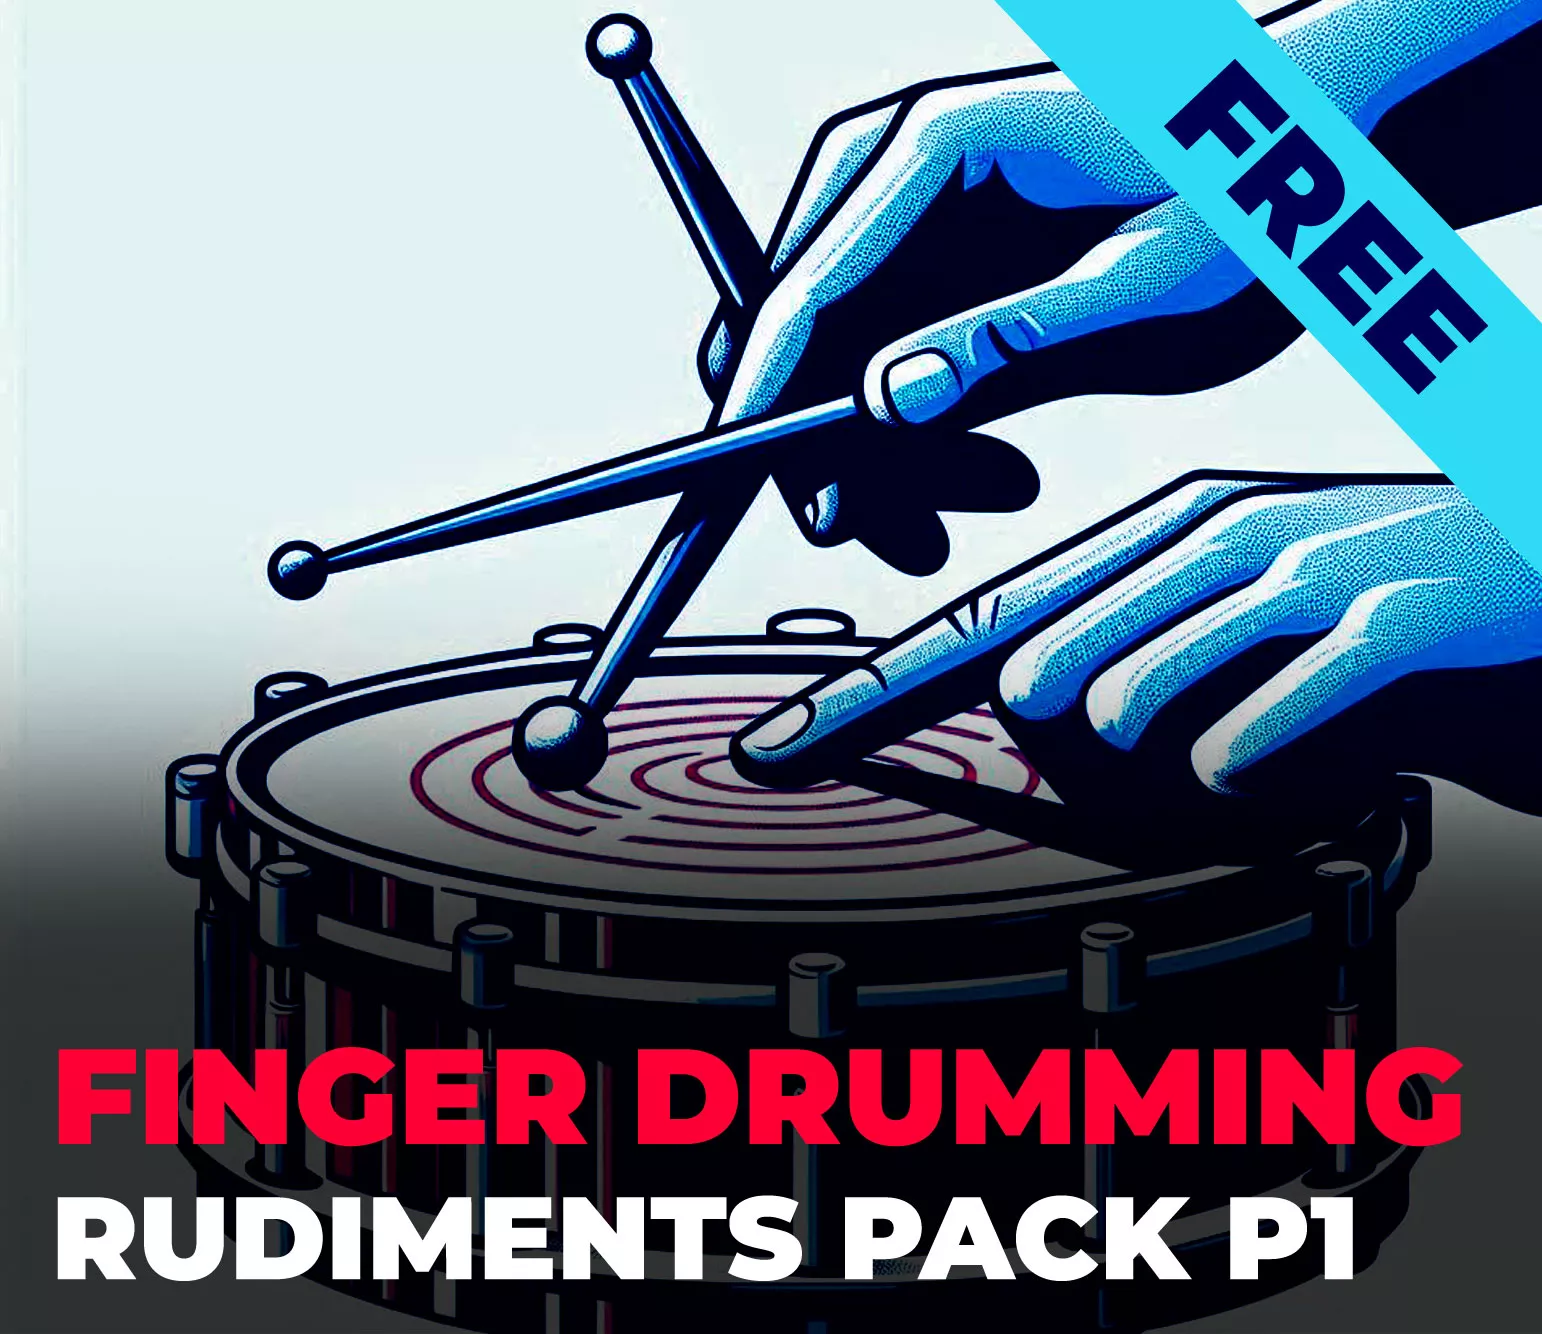
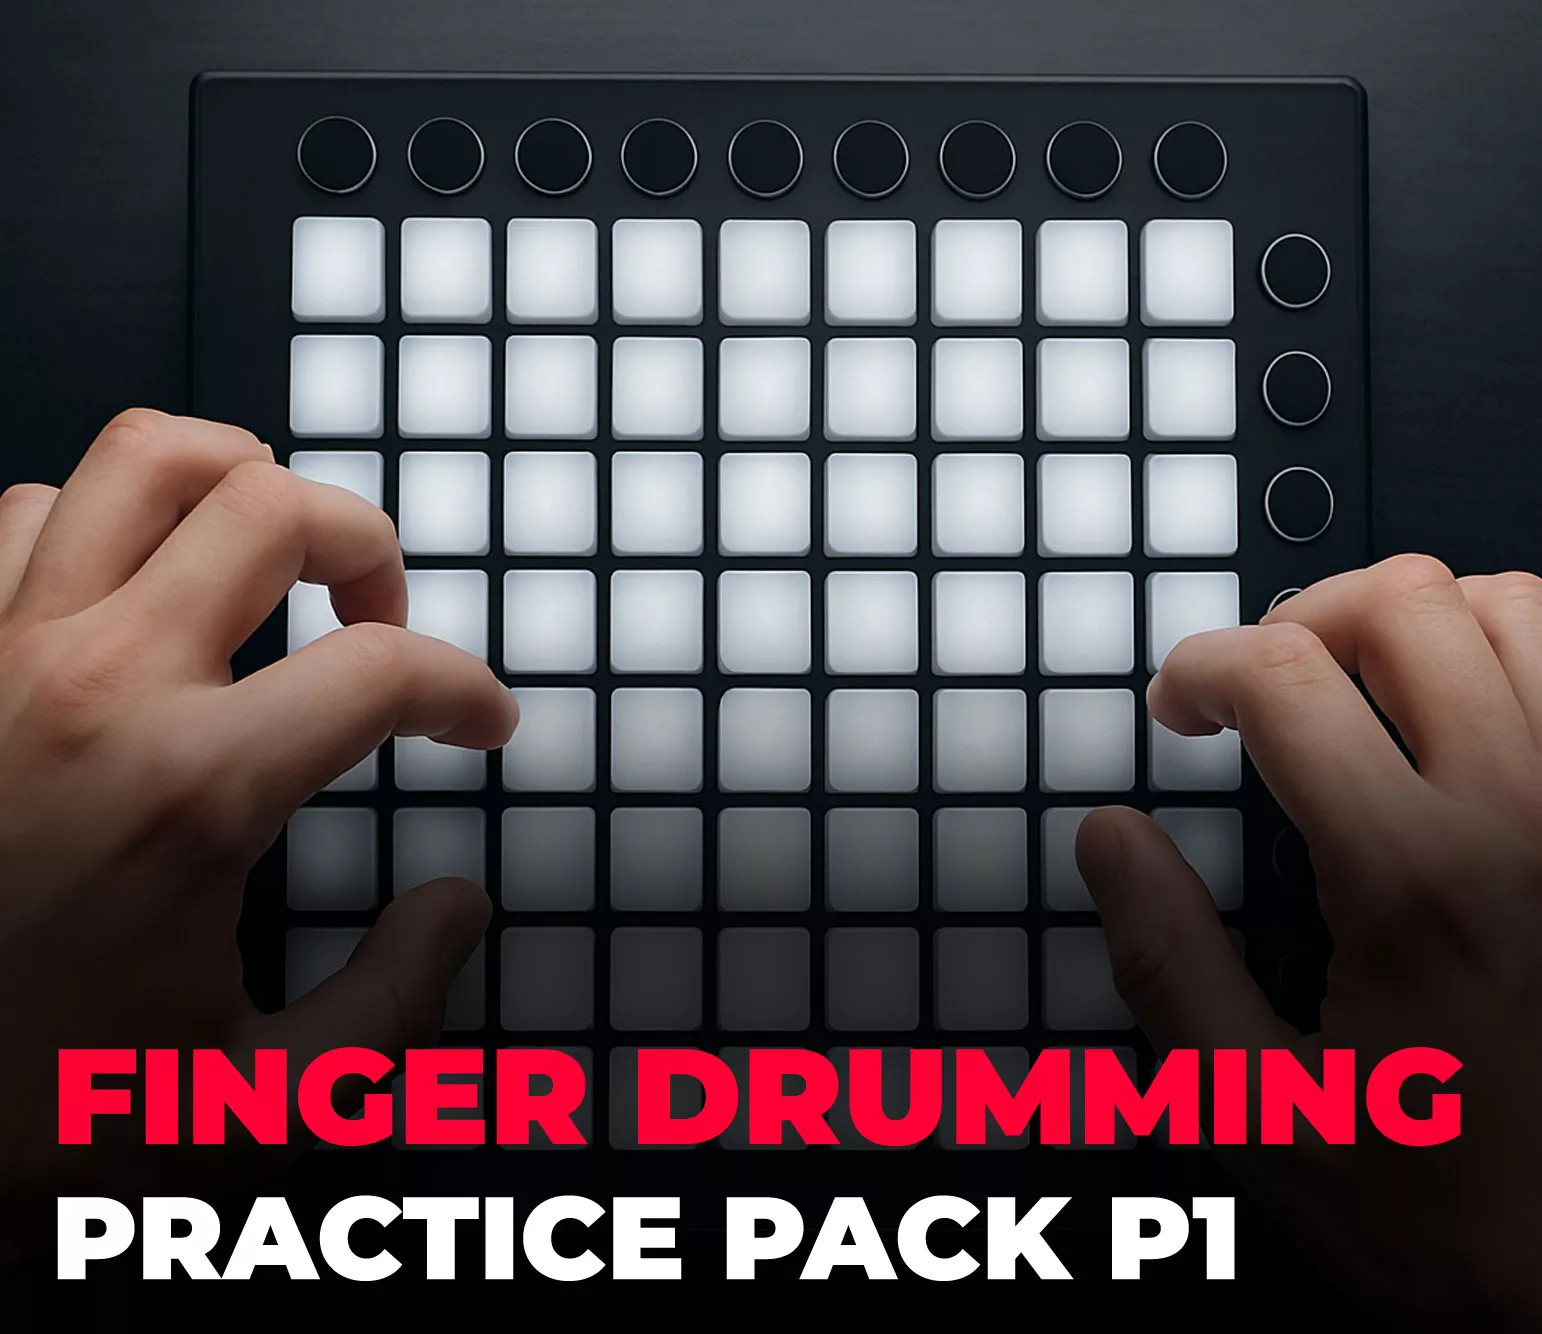
Free Finger Drumming Training Packs for Beginners
Ready to take your finger drumming to the next level? These free practice packs are designed to help you build speed, precision, and control while reinforcing the exercises from this guide. Whether you're mastering rudiments or looping patterns, these packs give you hands-on tools to strengthen your technique and make every session more productive.


Grab these free packs, practice regularly, and watch your finger drumming skills grow week by week. Consistent practice with the right tools is the fastest way to improve your timing, coordination, and confidence behind the pads. Keep playing, stay patient, and enjoy making real music with every beat.
Stay patient. Stay focused.
— ToneSharp