🎯 The Reason Loops Are No Longer Sufficient
You have laid a solid foundation over the last four weeks. You gained expertise in two-handed coordination, improved timing, syncopation, and dynamics, and acquired control and warm-up discipline as you discovered what finger drumming really entails.
There is a hitch, though. Everything you have studied thus far occurs in a loop. Four bars repeat continually. The groove is strong, but it never moves anywhere.
Week five reverses this. Here is where you deliberately, musically, and with purpose break the pattern.
Changes this week:
- You stop playing the same four bars permanently. Fills indicate changes, raise energy, and reset the flow—that is, punctuation.
- You go beyond kick, snare, and hi-hat. Toms, crashes, and different sounds provide fresh textures and rhythmic options.
- You begin to consider in musical phrases. You learn to create grooves with beginnings, centers, and endings rather than repetitive repetition.
Fills are not for display. They're all about creating structure. Looping a beat and really performing music differ in this regard.
What's Inside This Practice Guide
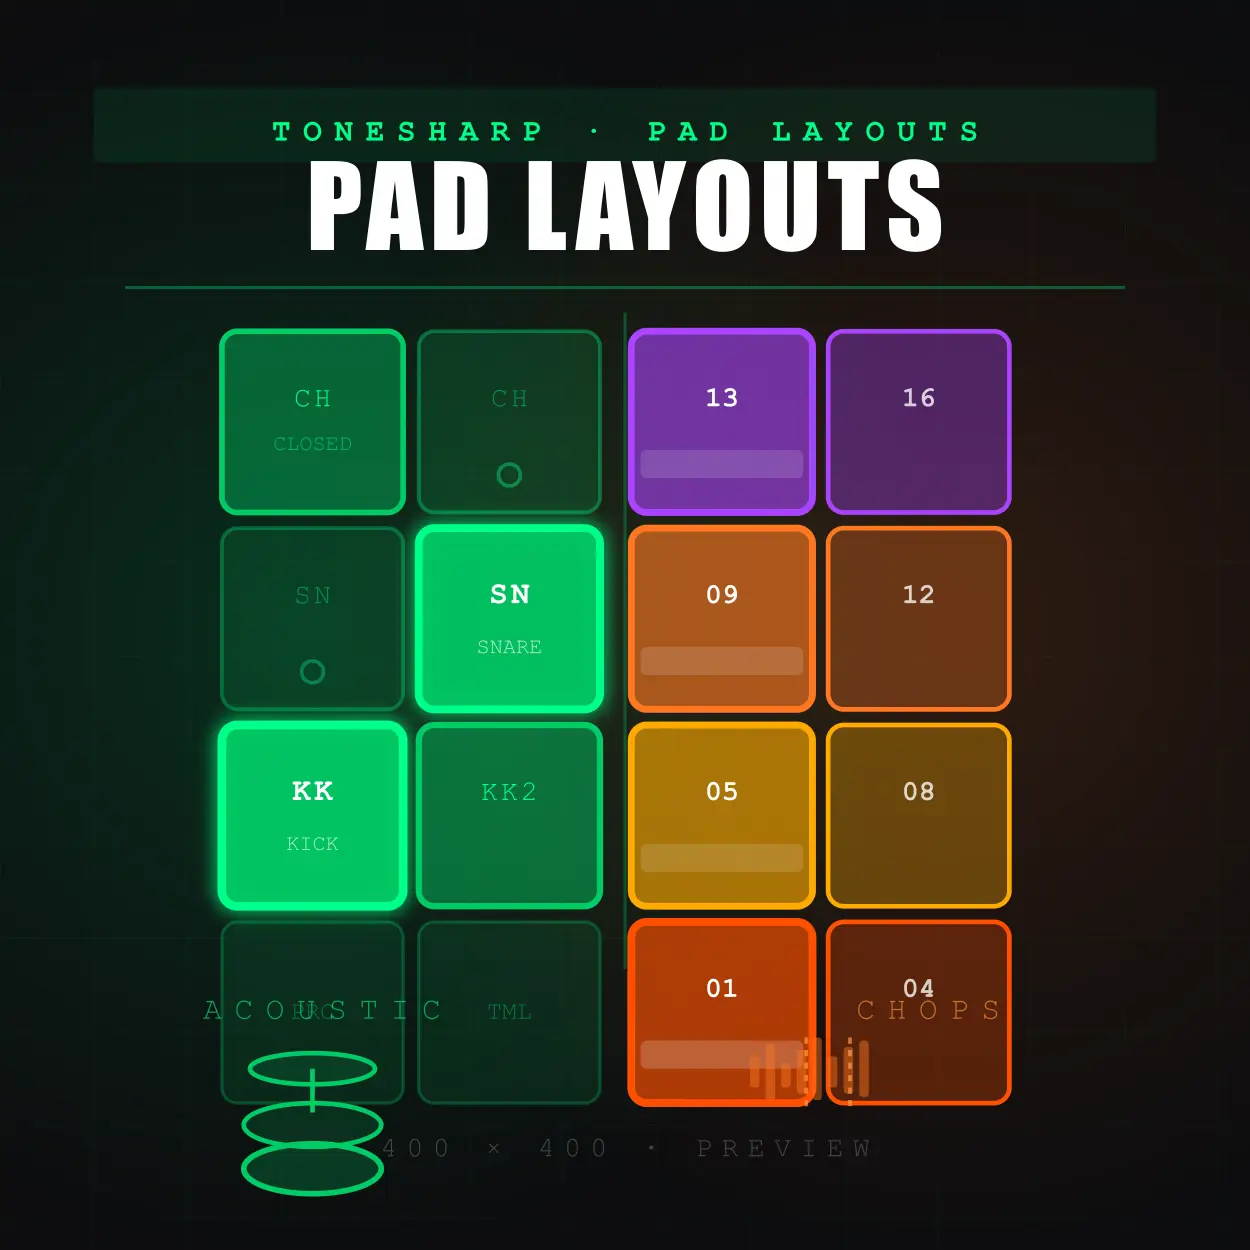
🎯 Week 5 Warm-Up: Tom Movement Drills

This week introduces toms and crashes. Before diving into fills, spend 3-5 minutes getting comfortable moving across more pads.
Drill 1: Four-Pad Flow
Build fluidity moving from kick through snare to toms. This prepares your hands for fill patterns.
What you're doing: Play a simple descending pattern across four pads: PAD1 → PAD2 → PAD11 → PAD12.
Which finger does what:
- PAD1 (Kick): Middle finger, left hand
- PAD2 (Snare): Index finger, left hand
- PAD11 (Mid Tom): Index finger, right hand
- PAD12 (Low Tom): Middle finger, right hand
What to focus on:
- Keep timing perfectly even—no rushing between pads
- Each hit should be the same volume
- Don't pause or hesitate when switching pads
- Your hands should flow smoothly without tension
Practice for 2 minutes. When the movement feels natural, you're ready.
💡 Real Talk: Most beginners rush when moving to new pads. Slow it down until every hit lands exactly on time. Speed comes from control, not from hurrying.
Drill 2: Crash Accent Training
Learn to hit crashes with authority while maintaining groove underneath.
What you're doing: Quarter notes on PAD1, crash accent on beat 1 every other bar.
Which finger does what:
- PAD1 (Kick): Thumb with switch to Middle finger of left hand
- PAD13 (Crash): Index/Middle finger, left hand (only on downbeat of bar 1, 3, etc.)
What to focus on:
- The crash should be louder than the kick—it's an accent
- Don't let the crash throw off your kick timing
- Hit the crash with confidence, but maintain a relaxed wrist
- Count bars so you know when the crash should land
Practice for 2 minutes. When the crash lands cleanly without disrupting the kick, move on.
💡 Common Problem: If you're hesitating before the crash, you're overthinking. Trust the count and commit to the hit. Crashes require confidence.
🥁 What Fills Actually Do (And When to Use Them)
A fill is a short rhythmic phrase—usually one or two bars—that breaks the main groove and signals a transition. It's how you move from verse to chorus, build tension before a drop, or simply reset the energy.
Why fills matter:
- They create musical structure. Without fills, everything sounds like an infinite loop. Fills give grooves a sense of movement and development.
- They build anticipation. A well-placed fill tells the listener "something's about to change." It creates momentum.
- They test your control. Fills require speed, precision, and recovery—you have to execute the pattern cleanly and land back in the groove perfectly.
When to Use Fills
Fills aren't random. They mark specific moments:
- End of a 4-bar or 8-bar phrase. Most common placement. Signals the start of a new section.
- Before a drop or breakdown. Builds energy and creates anticipation.
- Transitioning between sections. Moving from verse to chorus, intro to main groove, etc.
- Creating variation in longer jams. Keeps the listener engaged when looping the same groove.
The key rule: don't overuse them. Too many fills make your playing feel chaotic. Use them intentionally, not constantly.
💡 Real Talk: Beginners tend to either avoid fills completely or use them every two bars. Neither works. The best fills are deliberate and spaced out. Play the groove, build the pocket, then use a fill when the music actually needs it.
🎯 Three Fill Patterns That Create Real Transitions
Each fill this week serves a specific purpose: basic transitions, tom movement, and crash punctuation. Master these, and you have the tools to break out of any loop.
Fill 1: Simple Snare Roll (Building Momentum)
This fill uses sixteenth-note snare hits on beat 4 to create a roll into the next bar. It's the most fundamental fill pattern in drumming.
What this fill trains: Speed control, landing back on beat 1, basic transition technique.
Which finger does what:
- PAD1 (Kick): Middle finger, left hand (groove, not in fill)
- PAD2 (Snare): Index finger, left hand (sixteenth notes on beat 4)
- PAD3 (Hi-hat): Index finger, right hand (groove, not in fill)
What to focus on:
- The snare roll happens only on beat 4—don't rush into it early
- Keep the roll even—no dragging or speeding up
- Land cleanly back on beat 1 of the next bar
- Practice the fill alone, then add it to a basic groove
- Alternate snare hits on beat 4 with the index finger of both hands.
Loop this for 2 minutes. When you can execute the fill and recover cleanly, you've nailed it.
Practice Progression:
- Day 1-2: Practice fill alone at 50 BPM (5 minutes daily)
- Day 3-4: Add it to a basic groove at 60 BPM (5 minutes daily)
- Day 5-7: Hit 70 BPM cleanly, landing back in groove perfectly
💡 Common Problem: If you're landing late on beat 1, your fill is rushed. Slow down the tempo and count through the sixteenth notes out loud. The roll should accelerate your hand, not your brain.
Fill 2: Tom Cascade (Descending Movement)
This fill moves down the toms—high to mid to low—creating a natural descending motion that resolves into the next bar.
What this fill trains: Multi-pad navigation, smooth transitions, musical phrasing.
Which finger does what:
- PAD12 (Low Tom): Ring finger, right hand
- PAD11 (Mid Tom): Middle finger, right hand
- PAD10 (High Tom): Index finger, right hand
- PAD3 (Hi-hat): Index finger, right hand
- PAD2 (Snare): Index finger, left hand
- PAD1 (Kick): Middle finger, left hand
What to focus on:
- Each tom hit should be even in volume and timing
- Don't pause between pads—flow smoothly down
- The fill happens over beats 3 and 4
- Your right hand should move naturally without tension
Loop this for 2 minutes. When the tom movement feels smooth, you've got it.
Practice Progression:
- Day 1-2: Practice tom cascade alone at 55 BPM (5 minutes daily)
- Day 3-4: Add groove context at 60 BPM (5 minutes daily)
- Day 5-7: Hit 65 BPM with smooth, confident movement
💡 Real Talk: If you're hitting toms unevenly, you're not prepared for speed. Slow it way down and get the motion right first. Accuracy beats speed every time.
Fill 3: Crash Resolution Fill (Full Transition)
This fill combines toms and a crash cymbal to create a complete transition. It's your first full "section break" fill.
What this fill trains: Crash timing, multi-element fills, confident transitions.
Which finger does what:
- PAD13 (Crash): Index/Middle finger, left hand (lands with kick)
- PAD11 (Mid Tom): Index finger, right hand
- PAD12 (Low Tom): Middle finger, right hand
- PAD3 (Hi-hat): Index finger, right hand
- PAD2 (Snare): Index finger, left hand (beats 3 and 4)
- PAD1 (Kick): Middle finger, left hand (use Thumb when hitting crash with Index/Middle )
What to focus on:
- The crash and kick must land together
- Don't rush the tom hits—keep them controlled
- The crash should be an accent—louder than everything else
- This fill signals a major transition—commit to it
Loop this for 2 minutes. When the crash lands perfectly with the kick, you've mastered the transition.
Practice Progression:
- Day 1-3: Practice fill alone at 60 BPM, focus on crash timing (5 minutes daily)
- Day 4-5: Add groove context at 65 BPM (5 minutes daily)
- Day 6-7: Hit 70 BPM with confident, clean execution
💡 Common Problem: If the crash and kick aren't landing together, you're not coordinating your hand properly. Practice just the crash-kick combination separately until it's automatic, then add the fill back in.
How These Three Fills Work Together
Each fill serves a different musical purpose:
- Fill 1 creates momentum. Use it for subtle transitions or to build energy within a section.
- Fill 2 adds movement. Perfect for keeping longer grooves interesting without being aggressive.
- Fill 3 marks major changes. This is your "section break" fill—use it when moving between distinct parts.
Together, they give you the tools to shape music dynamically. You're no longer stuck in a loop—you can create structure, build tension, and resolve it.
Week 5 Practice Schedule:
- Days 1-2: Master Fill 1. Get the snare roll clean and the recovery smooth.
- Days 3-4: Add Fill 2. Work on tom movement and flow.
- Days 5-7: Master Fill 3. Nail the crash timing and full transition.
By the end of the week, practice stringing all three fills together in a sequence. That's when you'll feel the power of deliberate transitions.
Common Week 5 Challenges (And How to Fix Them)
Challenge 1: Landing Late After Fills
The problem: Your fill execution is fine, but you're not recovering cleanly back into the groove.
The fix: Practice the last note of the fill and the first note of the recovery as a separate two-note exercise. Loop just those two hits until the transition is automatic. Then gradually add the full fill back in.
Challenge 2: Uneven Tom Hits
The problem: Your tom cascade sounds choppy—some hits are louder or slower than others.
The fix: Slow the tempo to 40/50 BPM and focus entirely on evenness. Use a metronome and make sure every tom hit lands exactly on time with identical volume. Don't speed up until the motion is perfectly smooth.
Challenge 3: Crash and Kick Don't Sync
The problem: Your crash lands slightly before or after the kick.
The fix: Practice just the crash-kick combo in isolation. Set a metronome to quarter notes and play only that combination for 2 minutes straight. Once it's locked in, add the fill back. If they still don't sync, you're not committing to both hits simultaneously—film yourself and check your hand motion.
Challenge 4: Fills Feel Rushed
The problem: You're speeding up during the fill, making it sound frantic instead of controlled.
The fix: Record yourself playing the fill at 40/50 BPM. Listen back and count the subdivisions. If they're uneven, you're not trusting the tempo. Use a louder metronome and force yourself to stay locked in. Speed comes from control, not from hurrying.
What You've Actually Built This Week
If you can execute all three fills cleanly at tempo and recover smoothly back into your groove, here's what you've developed:
- Musical structure: You're no longer looping endlessly—you can shape grooves with transitions and phrasing
- Multi-pad fluency: Toms and crashes are now part of your vocabulary, not obstacles
- Timing recovery: You can break the pattern and land back in the pocket without hesitation
- Intentional expression: Your fills aren't random—they serve specific musical purposes
That's real musical progress. You're not just playing patterns anymore. You're creating complete musical statements.
What's Next?
Essential fundamental knowledge—finger notation, fundamental music theory, and accurate nomenclature—will be presented in Week 6. These ideas weren't earlier added since first getting you playing was the most important thing. You are now set to grasp the "why" behind what you've been doing since you have actual authority and expertise. But only go forward if every time you can confidently play these fills and come back to your beat. Rushing ahead leads to bad habits. Master this first.
Between looping and performing, fills provide the bridge. Correct them and everything else unfolds.
Free Finger Drumming Training Packs for Continued Growth
Want structured exercises to reinforce fills, transitions, and pad movement? These free packs give you drills, rhythm variations, and pattern progressions that help you build speed and control.


Consistent practice with these packs will strengthen your fills and develop the muscle memory you need for clean transitions. Keep playing, stay patient, and enjoy building real musical control.
Stay focused. Stay musical.
— ToneSharp