🎯 Hand Independence Is the Actual Turning Point
Actual rhythms started to show up by week two. Kick, snare, and hi-hat started acting as a groove rather than separate beats. Most electronic music, hip-hop, and groove-based beats depend on that fundamental coordination pattern you learned.
Week three builds right off of that groundwork. You're not picking up totally fresh ideas—you're improving control, coordination, and musical variety. The beats become somewhat more complicated, but they remain entirely playable at your current level.
The major change this week is the emphasis on hand independence. Warm-ups evolve from sheer finger strength to managing each hand separately. This is where one hand keeps a consistent pulse while the other adds variety, emphasis, or alterations.
That awkward moment when both hands want to replicate one another? That's not failure—it's your brain learning how to separate control. This is the same coordination technique used in live beat performance and full finger drumming patterns. Your brain is literally rewiring itself to handle independent pad control.
What's Inside This Practice Guide
🎯 Three Warm-Up Exercises for Hand Independence

These three exercises prepare your hands to work independently. They're designed to feel slightly challenging without overwhelming you. Start every session with these.
Only five concentrated minutes of these warm-ups helps you:
- Train true hand independence so one hand does not disrupt the other during a beat
- Develop rhythmic flexibility prior to introducing syncopation, ghost notes, or tempo changes
- Expose coordination deficiencies early before they become long-term patterns
View warm-ups as integral to the training rather than a delay before it. Five purposeful minutes here spare you from frustrating sessions where your hands battle each other instead of cooperating with the groove.
Exercise 1: Alternating Hands on Different Pads
This exercise teaches your hands to maintain separate rhythms without one throwing the other off. It's the foundation for everything else this week.
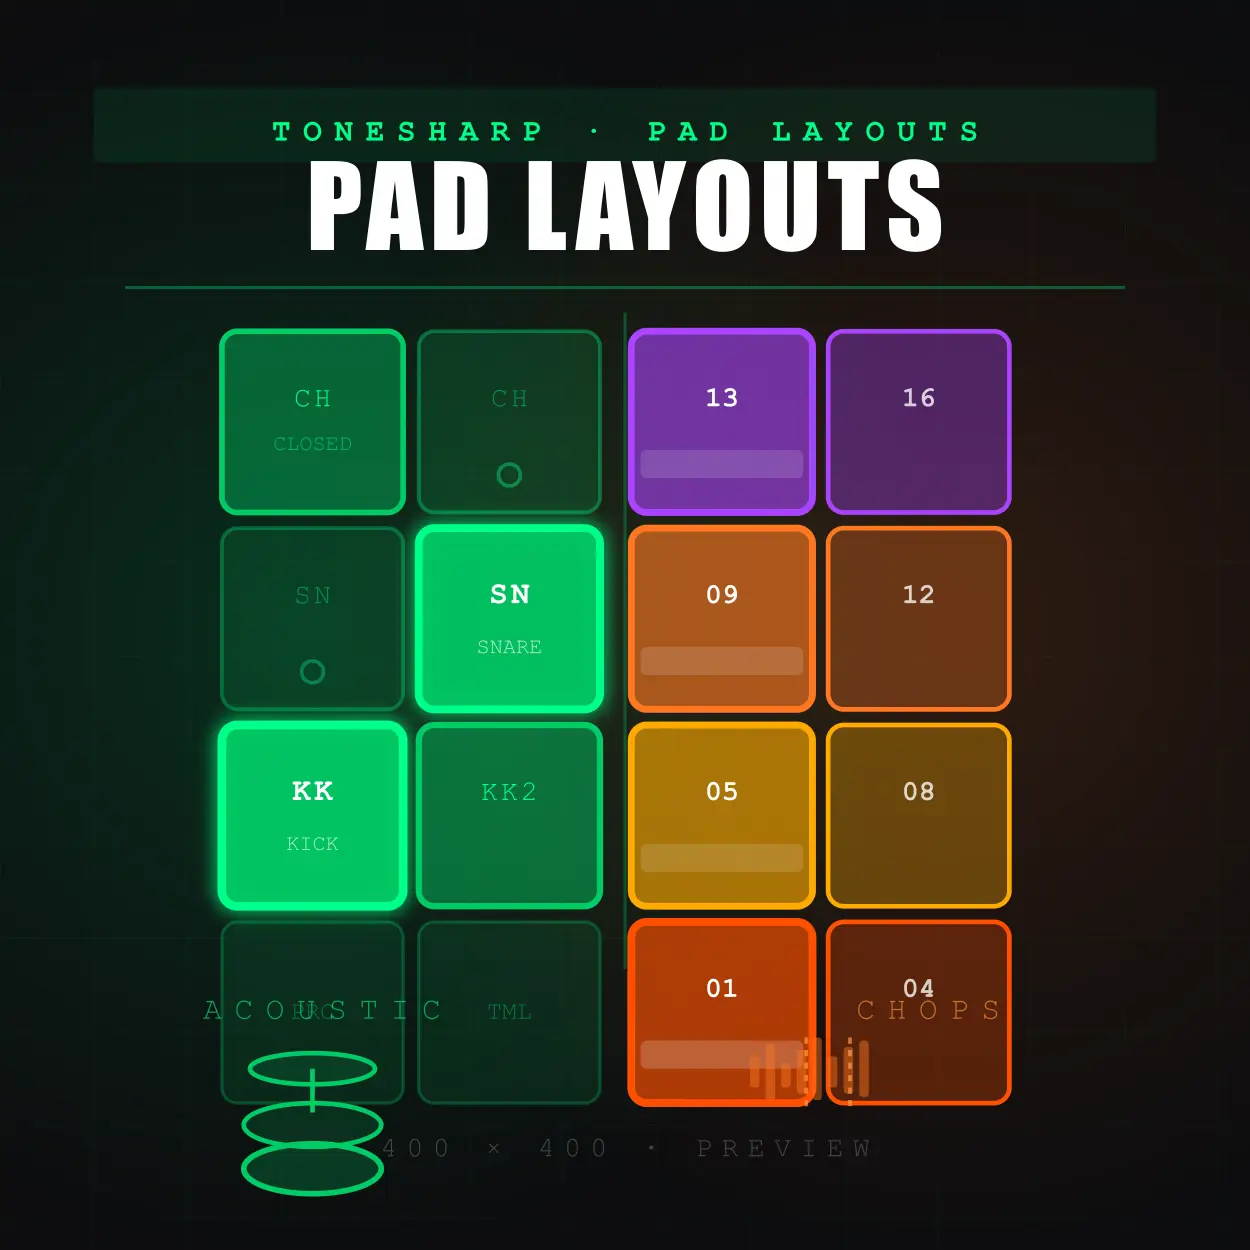
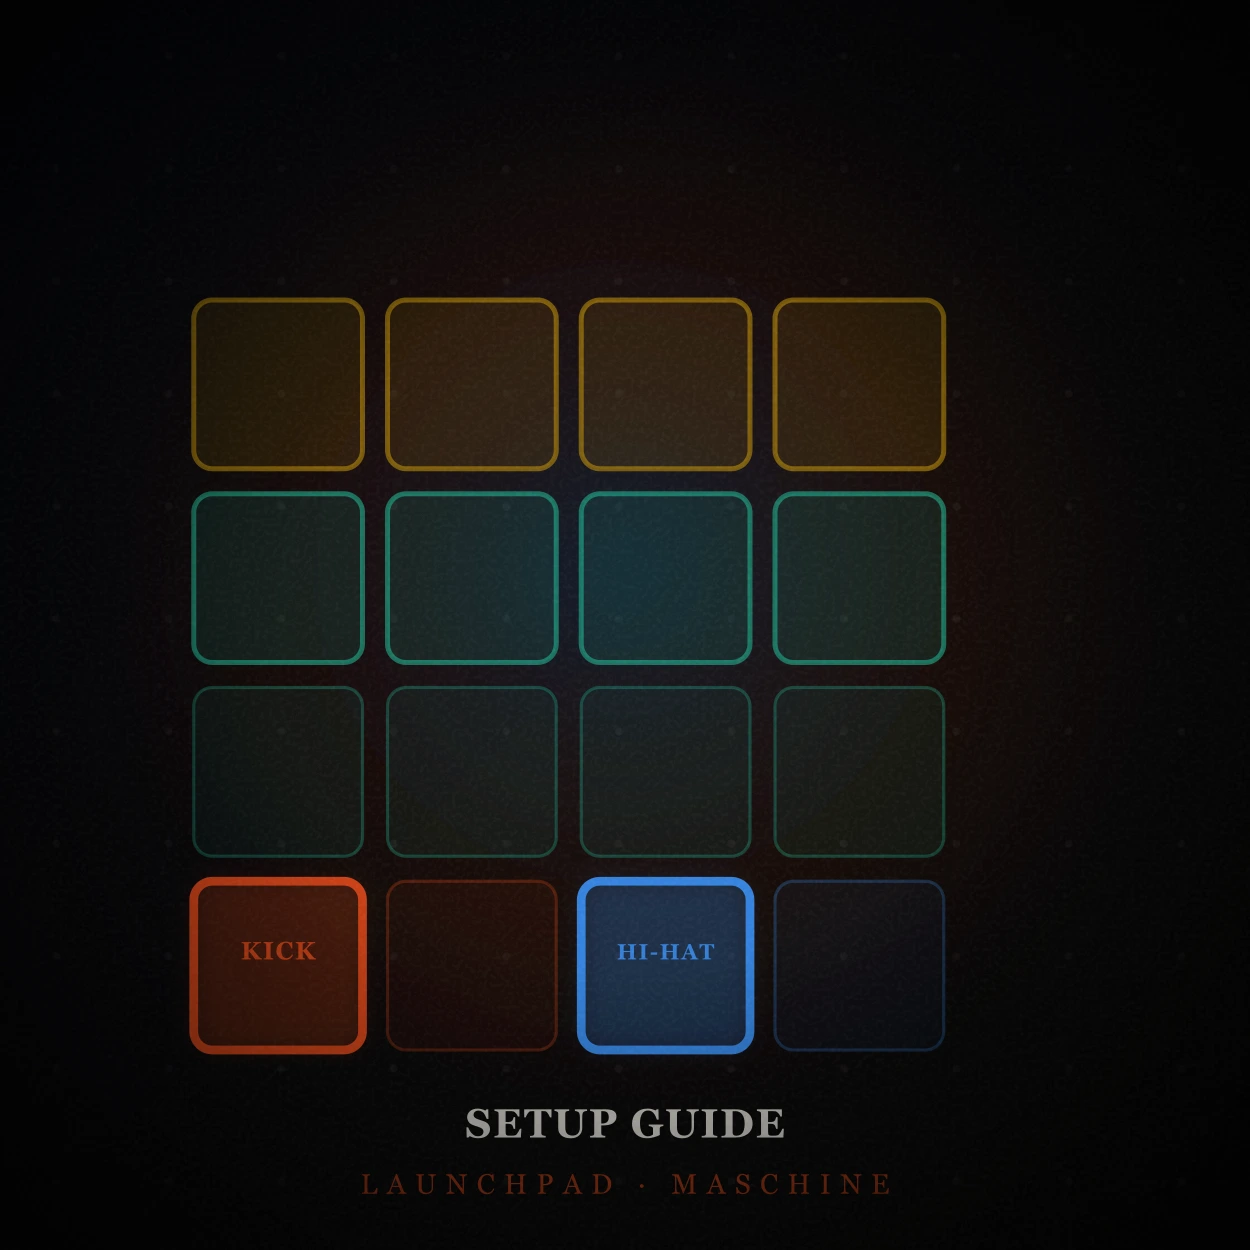
What you're doing: Your left hand plays quarter notes on PAD1 (Kick). Your right hand plays quarter notes on PAD3 (Hi-hat), but they're offset—right hand hits between left hand hits.
Which finger does what:
- PAD1 (Kick): Index finger, left hand
- PAD3 (Hi-hat): Index finger, right hand
What to focus on:
- Each hand maintains its own steady pulse
- Don't let one hand speed up or slow down to match the other
- Keep both hands equally relaxed—no tension in either wrist
- Start slow enough that both hands feel controlled
Practice this for 2 minutes. When you can loop it smoothly without thinking, you're ready to move on.
💡 Real Talk: Your hands will want to sync up and play together. That's your brain trying to simplify things. Resist it. The awkwardness you feel is literally your brain building new coordination pathways.
Exercise 2: Triplet Feel Across Both Hands
This one introduces a triplet rhythm split between both hands. It feels strange at first, but it's essential for developing rhythmic flexibility.
What you're doing: Play three evenly-spaced notes using alternating hands—left, right, left, right, left, right.
Which finger does what:
- PAD1 (Kick): Index finger, left hand
- PAD2 (Snare): Index finger, right hand
What to focus on:
- The three-note grouping should feel smooth and even
- Don't rush the third note or drag the first one
- Both hands contribute equally to the rhythm
- Keep your shoulders loose—triplets expose tension fast
Run this pattern 8 times. If it feels choppy, slow the tempo down until the triplet grouping sounds natural.
💡 Common Problem: If the rhythm sounds uneven, count out loud: "1-2-3, 1-2-3." Your voice will help your hands find the right spacing.
Exercise 3: Four-Pad Hand Independence Drill
This exercise combines everything—finger independence, hand coordination, and pad accuracy. It's challenging, but it's exactly what your brain needs.
What you're doing: Your left hand plays a repeating two-note pattern (kick, snare). Your right hand plays a separate two-note pattern (hi-hat, clap) at the same time.
Which finger does what:
- PAD1 (Kick): Middle finger, left hand
- PAD2 (Snare): Index finger, left hand
- PAD3 (Hi-hat): Index finger, right hand
- PAD4 (Clap): Middle finger, right hand
What to focus on:
- Each hand maintains its own rhythm without listening to the other
- Fingers stay on their assigned pads—no shortcuts
- Keep everything loose and controlled
- If one hand gets sloppy, slow down the tempo
Loop this for 2–3 minutes. This one's challenging. If it falls apart, that's normal. Just reset and try again at a slower tempo.
🥁 Three New Beat Patterns That Actually Groove
Now we're building on what you know. Each beat introduces one new concept, but nothing overwhelming. These are designed to feel achievable while still pushing your coordination forward.
Pattern 1: Kick and Snare with Eighth-Note Hi-Hats
This beat is an extension of what you played in Week 2. , but now the hi-hat plays on every eighth note instead of resting during snare hits. This creates continuous forward motion.
What you're playing: Steady kick on every beat, snare on 2 and 4, continuous eighth-note hi-hats.
Which finger does what:
- PAD1 (Kick): Middle finger, left hand
- PAD2 (Snare): Index finger, left hand (only on beats 2 and 4)
- PAD3 (Hi-hat): Index finger, right hand (steady eighth notes)
What to focus on:
- Your right middle finger keeps the hi-hat consistent, even when the index finger hits the snare
- The kick stays locked and solid—it's the anchor
- Don't let the hi-hat speed up or slow down
- Keep both hands relaxed, especially your right hand which is doing two jobs
Loop this for 2 minutes straight. When your right hand can handle both snare and hi-hat without tensing up, you've got it.
💡 Common Problem: If the hi-hat gets choppy when the snare comes in, your right hand is tensing up. Drop the tempo and focus on keeping the middle finger independent from the index finger.
Pattern 2: Syncopated Kick with Steady Backbeat
This introduces syncopation—the kick doesn't just land on every beat anymore. One kick shifts to the "and" of beat 3, creating rhythmic tension and forward drive.
What you're playing: Kick on beats 1, 2, and the "and" of 3. Snare on 2 and 4. Eighth-note hi-hats.
Which finger does what:
- PAD1 (Kick): Middle finger, left hand (hits on 1, 2, and the + of 3)
- PAD2 (Snare): Index finger, left hand (only on 2 and 4)
- PAD3 (Hi-hat): Index finger, right hand (steady eighth notes)
What to focus on:
- The kick on the "and" of 3 creates a push—it drives the beat forward
- Your left hand has to think independently now—it's not just quarter notes anymore
- The snare and hi-hat stay exactly the same as Pattern 1
- Count it out loud if the timing feels off: "1-and-2-and-3-AND-4-and"
Loop this until the syncopated kick feels natural. When you stop thinking about where it lands, you've internalized it.
💡 Real Talk: This one trips people up because the kick pattern isn't symmetrical anymore. If you keep missing the "and" of 3, slow it way down and count out loud until your hands learn the rhythm.
Pattern 3: Adding a Clap Layer
Now you're adding a fourth sound—a clap that reinforces the snare. This creates more texture and teaches your right hand to coordinate three sounds at once. This is your Week 3 capstone beat.
What you're playing: Same syncopated kick from Pattern 2, snare on 2 and 4, eighth-note hi-hats, and claps that double the snare.
Which finger does what:
- PAD1 (Kick): Middle finger, left hand
- PAD2 (Snare): Index finger, left hand
- PAD3 (Hi-hat): Index finger, right hand
- PAD4 (Clap): Middle finger, right hand (hits with the snare on 2 and 4)
What to focus on:
- Your right hand now coordinates two fingers: index (hi-hat), middle (clap)
- The clap and snare hit at exactly the same time on beats 2 and 4
- Keep the hi-hat steady—it's easy to let it get sloppy when adding the clap
- Your left hand just keeps doing what it did in Pattern 2
This is your Week 3 capstone beat. Loop it for one full minute without stopping. When you can do that cleanly, you're ready for Week 4.
💡 Common Problem: If everything falls apart when the clap comes in, your right hand is overloaded. Slow the tempo down and practice just the right hand part alone (snare, hi-hat, clap) until it feels automatic.
What You've Actually Built This Week
If you can play Pattern 3 smoothly, here's what you've developed:
- True two-handed independence: Your left hand plays one rhythm while your right hand does something completely different
- Syncopation: You're no longer limited to straight quarter-note kicks
- Layered texture: You can coordinate four sounds at once without losing control
- Musical feel: These beats actually groove—they don't just follow a pattern
That's real progress. You're not just hitting pads anymore. You're playing music.
Free Finger Drumming Training Packs for Continued Growth
Want to keep building on what you've learned? These free practice packs give you structured exercises, rhythm variations, and pattern drills that reinforce hand independence and coordination. Whether you're working on rudiments or developing new grooves, these packs help you stay consistent and keep improving.


Grab these free packs, practice regularly, and watch your coordination strengthen week by week. Consistent practice with the right tools is the fastest way to develop independence, timing, and confidence behind the pads. Keep playing, stay patient, and enjoy the process of building real grooves.
Stay patient. Stay focused.
— ToneSharp