🥁 Why Most Beginners Start Wrong
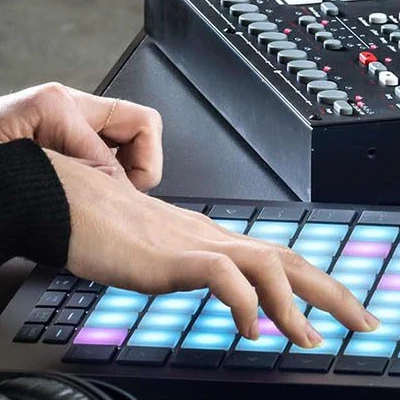
You've seen the videos. Producers absolutely destroying pad controllers, their fingers flying across the grid like lightning. It looks effortless, natural, almost superhuman.
So you grab your pad controller, pull up a tutorial, and try to replicate what you saw.
But something's off.
Your fingers feel clumsy. The timing is wrong. Some hits don't register while others are too loud. Your hands start tensing up. After twenty minutes, your wrists ache and you're wondering if maybe finger drumming just isn't for you.
Here's the truth: those videos skip the most important part—the foundation that makes everything else possible.
Finger drumming isn't about speed. It's not about memorizing patterns. It's not even really about the pads themselves. It's about teaching your hands a completely new physical language—one that combines percussion technique, rhythmic awareness, and muscle memory.
Most beginners try to run before they can walk. They skip straight to playing beats without understanding how their fingers should actually move. They copy patterns without developing control. They chase speed without building consistency.
This guide takes a different approach. We're starting at the actual beginning—not with beats or patterns, but with understanding what finger drumming really is and building the physical foundation that makes everything else natural.
No shortcuts. No tricks. Just proper technique that will serve you for years.
What You'll Learn in This Guide
📜 What Finger Drumming Actually Is
Before we touch a pad, let's clear up the biggest misconceptions. Understanding what finger drumming is—and what it isn't—prevents months of frustration.
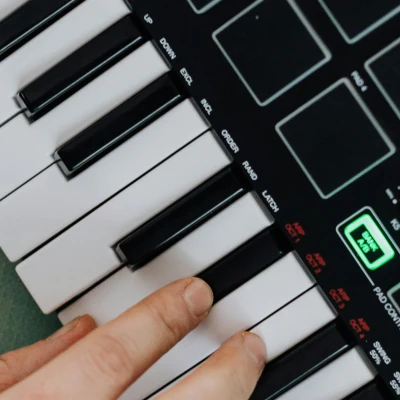
It Is Not Piano Playing
This is the single most common mistake beginners make. Pads look like miniature piano keys, so people approach them with piano technique.
Big mistake.
Piano keys require even, controlled pressure. You press them down and hold. The velocity comes from the speed of your press, not the impact itself. Your fingers stay relatively close to the keys, making small, efficient movements.
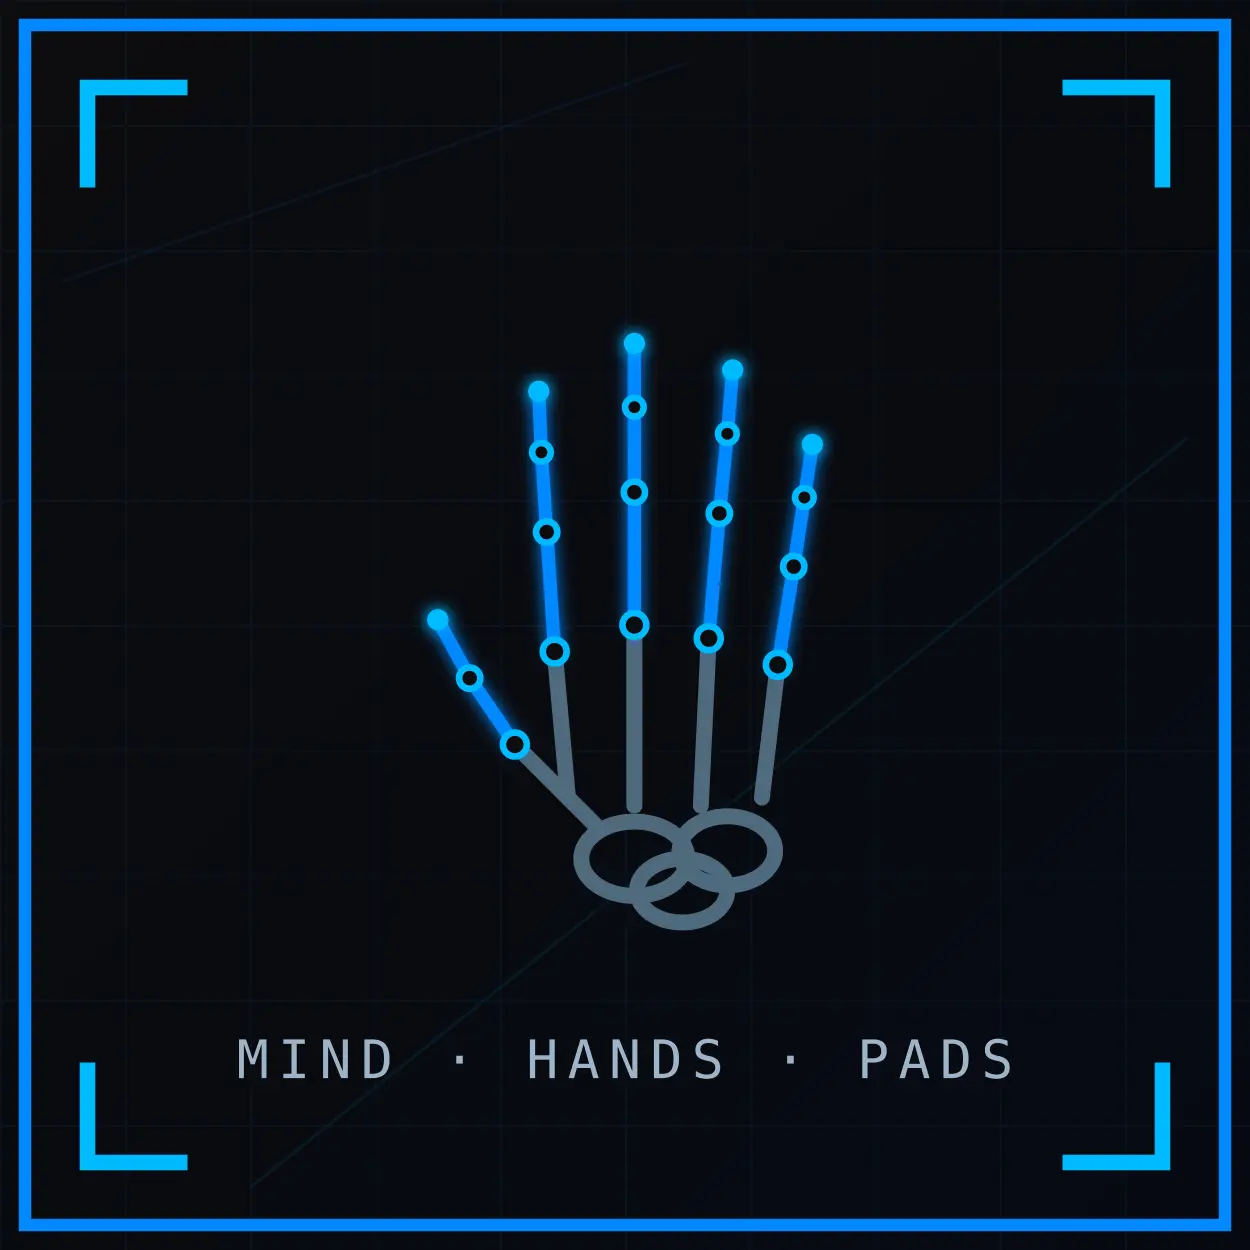
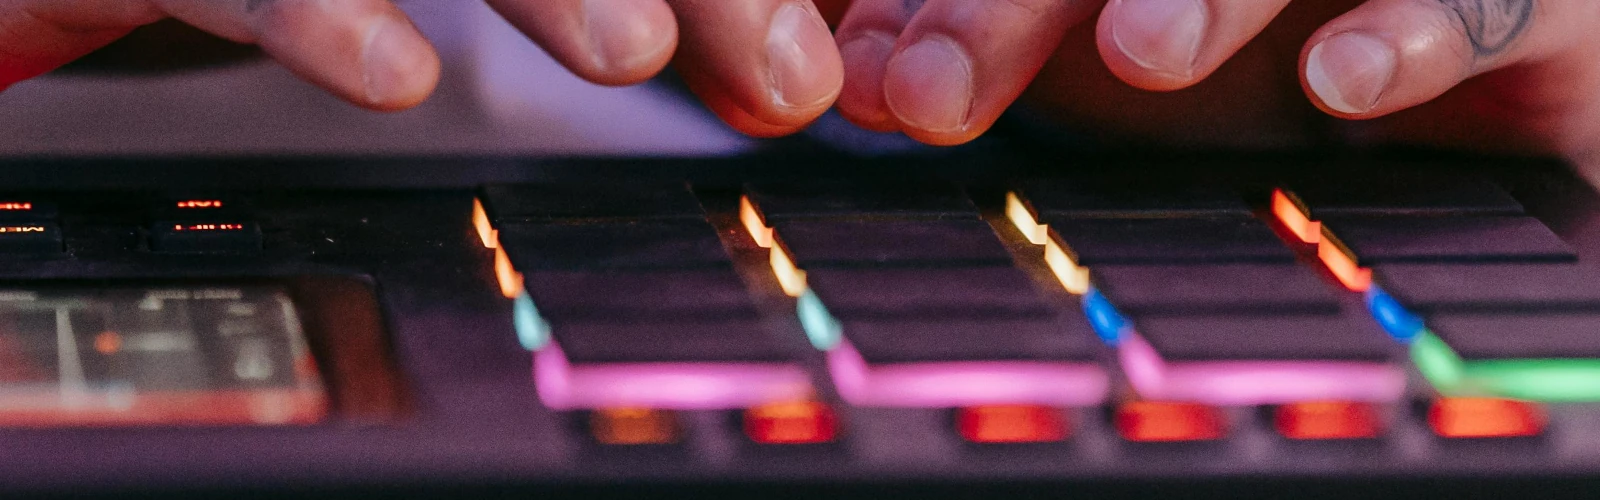
Pads are completely different. You don't press pads—you strike them.
Think of pads like drums, not keys. Each hit needs intent and motion. Your finger should travel to the pad, strike it, and rebound back up. The pad responds to the velocity of impact, the weight behind it, and how quickly you release.
If you approach pads like piano keys, you'll develop tension, inconsistent velocity, and a flat, lifeless sound. Your hands will fight against the natural rebound of the pads instead of working with it.
It Is Not About Speed (Yet)

Fast finger drumming looks impressive. Those rapid-fire hi-hat patterns, the lightning-quick fills, the blur of fingers across the grid—it's mesmerizing to watch.
But speed is a byproduct, not a starting point.
Here's what actually separates good finger drummers from frustrated beginners:
Timing: Can you hit exactly when you intend to?
Consistency: Do your hits sound even and controlled?
Dynamics: Can you play quiet and loud intentionally?
Relaxation: Do your hands stay loose or tense up?
Notice what's missing from that list? Speed.
Speed comes naturally once you have control. Try to play fast without control, and you'll just be playing sloppy patterns quickly. That doesn't sound good, and it doesn't feel good either.
Live Performance vs Step Sequencing
There's nothing wrong with programming drums in your DAW. Step sequencing is a valuable production skill, and many incredible tracks are built entirely with programmed drums.
But finger drumming is fundamentally different.
When you step sequence, you're working with perfect timing and total control. You can edit every note, adjust every velocity, quantize everything to the grid. It's precise, calculated, and forgiving.
Finger drumming is live performance. You make real-time decisions. You respond to what you just played. You develop intuition about rhythm and timing. And yes, you make mistakes—but you also learn to recover from them naturally.
This guide focuses on playing, not programming. We're training your hands and ears to work together in real time. That's a different skill set, and it requires different practice methods.
Pads Respond to Velocity and Intent
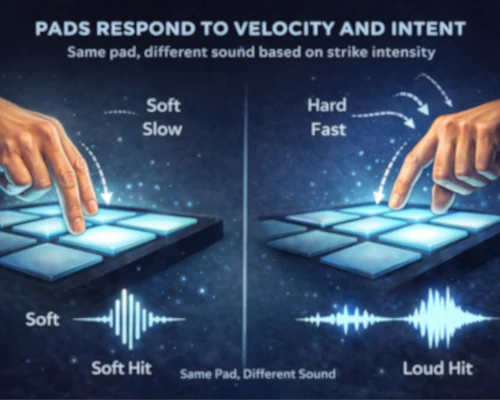
Here's something that surprised me when I started: the same pad can produce dramatically different sounds depending on how you hit it.
Every strike carries information:
How hard you hit: Velocity determines volume and often timbre
How fast your finger moves: Speed affects the character of the sound
How relaxed you are: Tension creates inconsistency and fatigue
How you release: Quick rebounds vs slow lifts change the feel
Two hits on the same pad can sound completely different—one might be a sharp, aggressive kick, while another is a soft, subtle thump. The difference isn't in the pad or the sample. It's in your finger motion.
This is why finger drumming is closer to percussion than to melody instruments. Drummers understand this intuitively—every strike has weight, intent, and character. That's what we're learning to control.
🎼 The Foundation: Physical Awareness
Now we get to the real work. Before you can play beats, your hands need to understand the physical vocabulary of finger drumming.
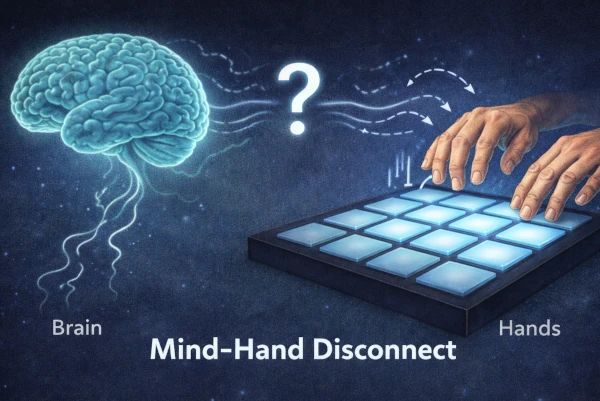
Why Your Brain and Hands Are Out of Sync
Here's a frustration every beginner experiences: you can hear the beat perfectly in your head. You know exactly when each hit should land. But your fingers just won't cooperate.
This gap between mental understanding and physical execution is completely normal. It's not a sign that you're bad at finger drumming—it's just where everyone starts.
Your brain processes rhythm quickly. You can listen to a beat and understand its structure within seconds. But your hands haven't learned the movements yet. They don't know which finger to use, how hard to strike, or how to time multiple hits in sequence.
This disconnect is uncomfortable. It makes you feel clumsy and uncoordinated. But it's temporary. With focused practice, your hands catch up to your brain. The gap closes. Movement becomes automatic.
The key is accepting that this process takes time. You can't rush it. Trying to force your hands to play faster than they're ready will just create tension and bad habits.
Proper Posture and Wrist Alignment
Let's talk about positioning. Get this wrong in week one, and you'll fight against it for months.
Forearm position: Your forearms should be roughly parallel to the ground. Not angled sharply up or down—parallel. This keeps your wrists neutral and prevents strain.
Wrist alignment: Your wrists should be straight, not bent. Imagine a straight line from your elbow through your wrist to your knuckles. Any sharp angle here creates tension and limits mobility.
Finger relaxation: Your fingers should be loose, not curled tightly. Think of how your hand naturally hangs when you're completely relaxed. That's the default position—fingers slightly curved but not gripping.
Shoulder position: Keep your shoulders down and back, not hunched forward. Forward hunching creates neck and shoulder tension that travels down to your hands.
All of this might feel awkward at first, especially if you're used to hunching over your desk. But proper posture isn't just about comfort—it directly affects your ability to play cleanly and consistently.
Tension anywhere in your body restricts movement everywhere. Relaxed posture means relaxed playing.
💡 Pro Tip: Set a timer for every 10 minutes of practice. When it goes off, check your posture. Are your shoulders up? Wrists bent? Fingers tense? Reset before continuing.
Understanding Finger Motion and Rebound
Here's where finger drumming becomes percussion technique.
When you strike a pad, your finger should follow a specific motion path:
Lift: Finger raises above the pad
Strike: Finger moves downward with intent and velocity
Impact: Finger contacts the pad
Rebound: Finger bounces back up naturally
That last part—the rebound—is crucial. The pad surface has give. When you strike it properly, it pushes your finger back up. You don't have to manually lift your finger away. The pad does half the work.
Beginners often press and hold, fighting against the pad's natural bounce. This creates tension and makes fast playing impossible. Instead, you want to strike and release, letting the rebound carry your finger back to the ready position.
Think of it like dribbling a basketball. You don't push the ball down and hold it—you push it down and let it bounce back to your hand. Same principle with pads.
🎯 Your First Practice Session
Enough theory. Let's get your hands on the pads. But we're not playing beats yet—we're building awareness and control.
The Single-Pad Awareness Drill
This is your foundation exercise. It looks simple. It is simple. But don't underestimate it.
Setup:
- Choose one pad (doesn't matter which)
- Start with your index finger
- No tempo, no metronome—just slow, controlled strikes
The Exercise:
- Hit the pad slowly with your index finger
- Watch your finger move through its complete path: lift, strike, rebound
- Notice how the pad feels—the resistance, the bounce
- Pay attention to any tension in your hand, wrist, or forearm
- Do this for 10-15 strikes
Then repeat with each finger:
- Middle finger: 10-15 strikes
- Ring finger: 10-15 strikes
- Pinky: 10-15 strikes (this will feel weak—that's normal)
- Thumb: 10-15 strikes (if your pad layout allows)
Duration: 3-5 minutes per hand
This isn't about sound. You're not trying to make music. You're teaching your nervous system what striking a pad feels like. You're building the physical vocabulary that everything else builds on.
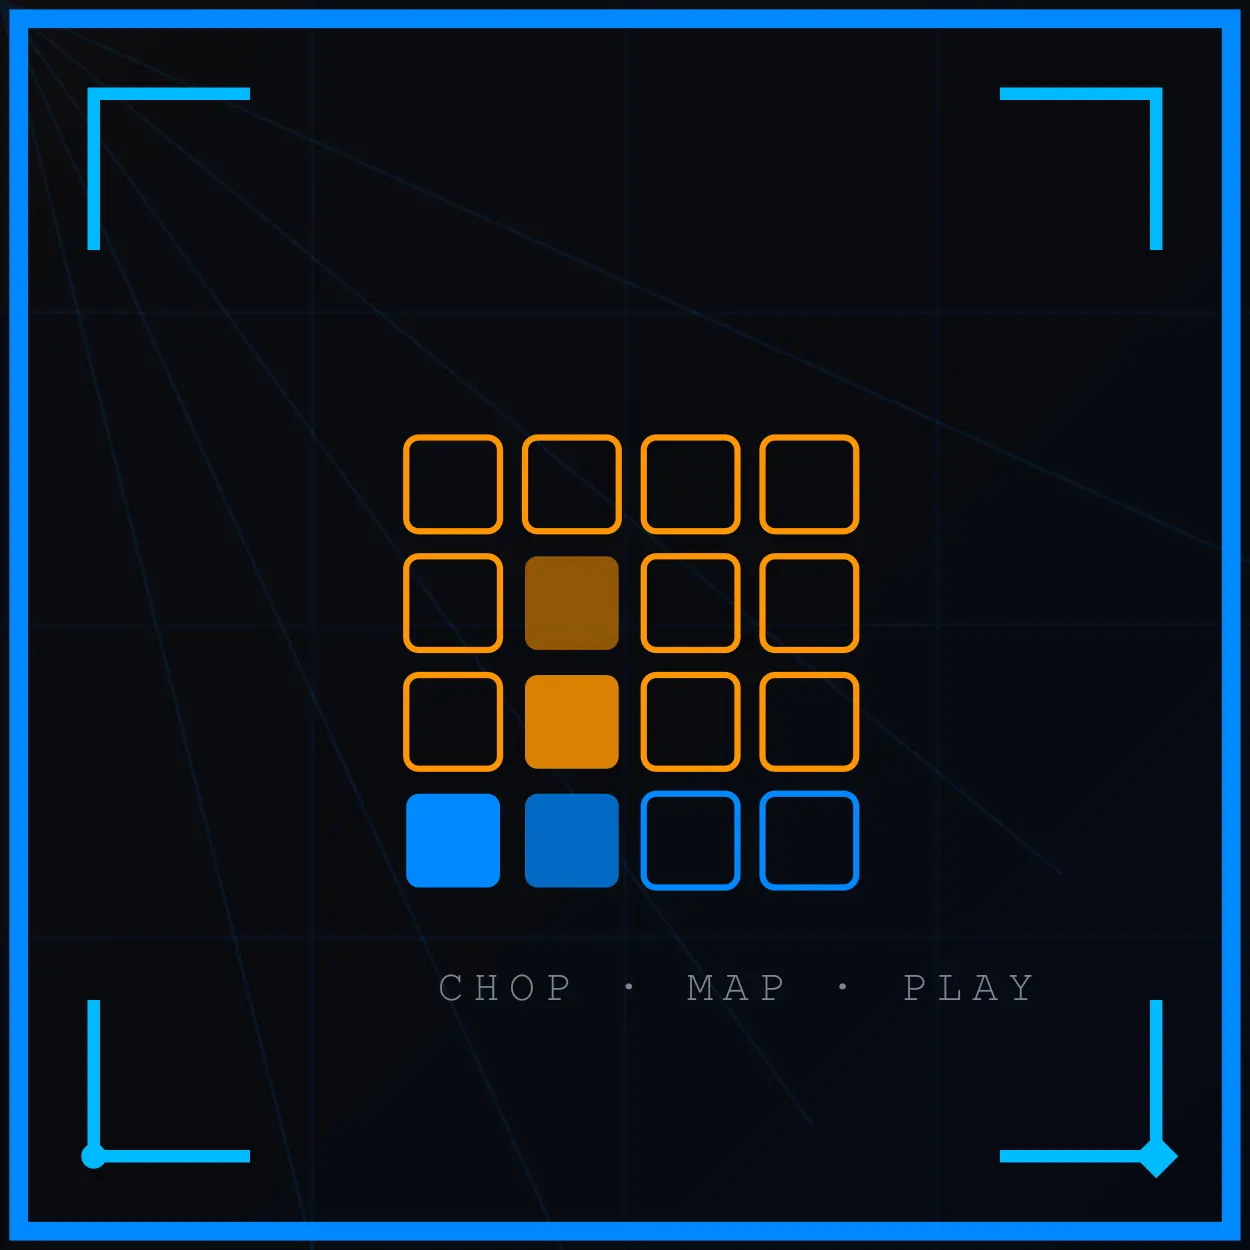
How to Use the Pad Player for This Exercise
The pad player below is a visual guide, not a performance test.
Each row represents a pad, and each column represents a step in time. When you see an X, that pad is meant to be struck. Dots represent silence.
Press Play to see the pattern move from left to right. When a step reaches an X, strike the corresponding pad on your controller using a relaxed, controlled motion.
Start slowly. Use the tempo control to lower the BPM if needed. Your focus is not speed, accuracy, or groove—it’s how your finger moves.
As you play:
- Let your finger rebound naturally after each strike
- Avoid pressing into the pad
- Notice whether tension appears in your hand or wrist
- Stop if you feel stiffness and reset your posture
- Of course, you can use different pads, fingers, and hands—even though this is the recommended approach. Try every finger on each hand on each pad to build full control.
You can repeat this pattern as many times as you like. Treat it as a mirror for your technique. The pad player shows when to strike; your body learns how to strike.
What to Focus On
During this drill, actively notice:
Finger motion: Is your finger moving freely, or does it feel restricted?
Rebound quality: Does the pad bounce your finger back, or are you manually lifting it?
Tension points: Where do you feel tightness? Fingertip? Knuckle? Wrist? Forearm?
Sound consistency: Do all your hits sound roughly the same volume, or are they wildly different?
Finger differences: Which fingers feel strong and coordinated? Which feel weak or clumsy?
Don't judge what you notice—just observe. Your pinky will feel weaker than your index finger. That's universal. Your ring finger might feel awkward. Also normal. Just notice these things.
Adding Light Dynamics
Once you're comfortable with the basic motion (maybe day 2 or 3 of this week), add a simple variation:
Alternate between soft and loud hits with the same finger.
Soft hit: Minimal velocity, finger barely lifts
Loud hit: More velocity, finger lifts higher before striking
Go back and forth: soft, loud, soft, loud. Ten times per finger.
This teaches your hands that velocity control comes from the motion, not from pressing harder. Louder hits require bigger movements. Softer hits require smaller movements.
💡 Pro Tip: Record 30 seconds of your single-pad practice. Listen back without watching. Can you hear differences between fingers? Between soft and loud hits? This builds your connection between what you feel and what you hear.
🚀 Common Week One Mistakes
Let's address the pitfalls that derail most beginners before they build momentum.
1. Trying to Play Beats Immediately
I know you want to play music. I know single-pad exercises feel boring. But rushing past this foundation stage is the biggest mistake beginners make.
Think of it like learning guitar. You wouldn't try to play complex chord progressions on day one. You'd learn how to hold the guitar, how to fret notes cleanly, how to strum without looking.
Same here. Week one is about hand fundamentals, not beat patterns. Skip this, and you'll spend months fighting against poor technique.
2. Hitting Pads Too Hard
Beginners almost universally hit too hard. They think harder hits equal better sound or more control.
Wrong.
Hitting too hard creates tension, reduces rebound quality, and fatigues your hands quickly. Most pad controllers are velocity-sensitive—they respond to the speed of your strike, not the force.
Try this: play with half the force you think you need. You'll be surprised how responsive pads are to lighter touches. Save the hard hits for when you intentionally want accent hits.
3. Locking Your Wrists
When beginners concentrate, they unconsciously tense up. Shoulders rise. Wrists lock. Fingers curl.
Locked wrists kill finger drumming. All the motion needs to come from your fingers, and that's only possible if your wrists stay loose and flexible.
Check in with your wrists every few minutes. Roll them gently. Shake out your hands. Reset to a relaxed position. Don't let tension accumulate.
4. Staring at the Screen Instead of Your Hands
Your DAW or software is visually interesting. Waveforms, meters, the transport bar moving—it's tempting to watch.
But in week one, you need to watch your hands. You need visual feedback about finger motion, hand position, and tension. The screen can't teach you that.
Later—much later—you'll develop the muscle memory to play without looking. But not yet. Right now, your hands need your attention.
5. Practicing Through Pain
Discomfort is normal. Your hands are learning new movements, and they'll feel tired.
But pain is a red flag. Sharp pain, aching joints, or persistent soreness means something's wrong—usually too much tension or poor positioning.
If you feel pain, stop. Check your posture. Shake out your hands. Take a break. Don't push through it.
📊 Building the Right Mindset

Technique is physical, but progress is mental. How you think about practice determines how quickly you improve.
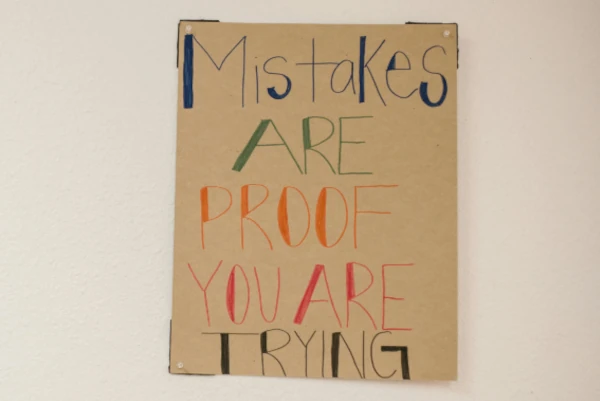
Frustration Is Part of the Process
Let's be honest: week one is frustrating. Your hands won't do what you want. Simple exercises feel harder than they should. You watch other people play effortlessly and wonder if you'll ever get there.
This is universal. Every skilled finger drummer experienced this exact frustration. The difference between people who get good and people who quit is simply accepting that frustration is temporary.
Your brain understands rhythm faster than your hands can execute it. That gap closes with practice. Not might close—will close. It's just a matter of time and repetition.
Progress Isn't Linear
Some days your hands will feel coordinated and responsive. Other days you'll feel like you've regressed.
This is how motor learning works. Your nervous system doesn't improve on a perfect upward curve. It builds, plateaus, seems to regress, then suddenly jumps forward.
Don't measure progress day to day. Measure it week to week or month to month. Keep recordings or notes. Compare your week one hands to your week four hands. The difference will be obvious.
Slow Practice Isn't Beginner Practice
There's a common misconception that slow practice is just for beginners, and once you get good, you should always play fast.
False.
Professional musicians practice slowly all the time. Slow practice builds precision. It exposes weaknesses. It allows you to focus on details that disappear at faster tempos.
Fast playing is just slow playing sped up. If you can't play something slowly with control, you can't really play it fast either—you're just moving your hands quickly and hoping for the best.
Embrace slow practice. It's not a limitation—it's a tool.
Recording Reveals Truth
Your perception of your playing is often inaccurate. What feels smooth might sound choppy. What feels even might have obvious timing issues.
Recording yourself removes the ambiguity. You hear exactly what you're producing, not what you think you're producing.
Record short clips throughout the week. You don't need to save them or share them—just listen immediately after recording. Ask yourself: does that sound how I thought it would?
This feedback loop accelerates learning dramatically.
🎸 Your Week One Practice Plan
Here's your daily practice structure for the first week. It's simple, focused, and designed to build awareness without overwhelming you.
Daily Practice Session (10-20 minutes)
Warm-Up (2 minutes):
- Gentle wrist rolls and hand shakes
- Check your posture: shoulders down, wrists neutral, fingers loose
Single-Pad Awareness Drill (5-8 minutes):
- Each finger, 15 slow strikes per hand
- Focus on motion, rebound, and relaxation
- No tempo, no rush
Soft-Loud Dynamics (3-5 minutes):
- Alternate soft and loud hits with each finger
- 10 alternations per finger, both hands
Free Exploration (2-5 minutes):
- Just hit pads randomly
- No structure, no judgment
- Notice what feels good and what feels awkward
Cool-Down (1 minute):
- Gentle hand stretches
- Quick posture check
Daily Focus Points
Days 1-2: Just get comfortable with the single-pad drill. Notice how pads feel. Don't worry about consistency yet.
Days 3-4: Add the soft-loud dynamics. Start paying attention to which fingers feel strongest and which feel weak.
Days 5-6: Try recording 30 seconds of practice. Listen back and notice what you hear vs what you felt.
Day 7: Light practice day. Review everything at half intensity. Let your hands rest a bit before week two.
What Success Looks Like
By the end of week one, you should:
- Understand the difference between pressing and striking
- Be able to hit pads with consistent volume using your index and middle fingers
- Notice when your hands are tense and consciously relax them
- Identify which fingers feel strong and which need development
- Maintain proper posture for at least 10 minutes without constant correction
Notice what's NOT on that list: speed, patterns, beats, or anything resembling music. That's intentional.
Week one is about making your hands understand the physical language of striking pads. Everything else builds on this foundation.
💡 Pro Tip: Keep a practice journal. Just three sentences per day: What did you notice? What felt good? What needs work? This awareness compounds over time.
🎨 From Foundation to Freedom
Week one isn't glamorous. There are no impressive patterns to show off. No beats to share. Just you, your pads, and repetitive exercises that might feel pointless.
But here's what you're actually building: the physical intelligence that separates people who struggle with finger drumming for years from people who progress steadily toward real skill.
Every professional finger drummer went through this phase. They sat with single-pad drills. They fought against tension. They dealt with the frustration of their hands not cooperating with their musical ideas.
The difference is they didn't skip it. They didn't rush to beats and patterns before building control. They understood that solid fundamentals eliminate problems before they become bad habits.
Think of it like learning to walk before learning to dance. Nobody skips walking. It would be absurd to try. But in finger drumming, people try to skip the equivalent all the time—and then wonder why they plateau.
You're not skipping it. You're doing it right. You're building awareness, control, and relaxation from day one. These fundamentals will serve you for years.
In week two, we'll start giving roles to your fingers and introduce basic alternating patterns. But everything we do in week two will only work because of the foundation you're building this week.
So embrace the simplicity. Trust the process. Watch your hands, not the clock. Notice small improvements, not dramatic leaps.
Slow hands today. Clean grooves soon. Confident performances eventually.
Related Posts
One week at a time.
Stay patient. Stay focused.
— ToneSharp