Welcome back to our Guide to Music Production Mastery. Last time, we explored the art of crafting standout lead sound. This week, we’re taking things to a new level by diving into pad sound design using filter modulation—an essential technique for creating evolving, lush textures that add atmosphere to your tracks.
Short Prep: Knowledge Boost
Before jumping in, let’s take a minute to brush up on the basics of filter modulation. Filters shape your sound by adjusting which frequencies pass through, and when paired with modulation, they can add movement and complexity to your pads.
Step 1: Understanding Filter Modulation
What is Filter Modulation?
Filter modulation involves automatically changing the filter cutoff frequency over time, using tools like LFOs (Low-Frequency Oscillators) or envelopes. This technique creates evolving sounds that feel more dynamic and interesting.
Step 2: Let’s Create a Pad Sound!
For this tutorial, we’ll use Ableton’s Analog instrument to design a rich pad sound with filter modulation.
1. Start with Two Oscillators
- Oscillator 1: Select a Saw Wave for a bright, full-bodied sound.
- Oscillator 2: Choose a Square Wave and detune it slightly (around -10 cents) for a lush, chorusing effect.
2. Blend the Oscillators
- Adjust the mix balance between the two oscillators until you get a warm, rich tone.
3. Apply a Low-Pass Filter
- Add a Low-Pass Filter to smooth out the high frequencies.
- Set the cutoff frequency around 3-4 kHz to keep the pad sound mellow.
Step 3: Adding Movement with Filter Modulation
1. Modulate the Filter with an LFO
- Set an LFO to modulate the filter cutoff frequency.
- Choose a sine wave for a smooth modulation shape.
- Set the rate to around 0.2 Hz for a slow, evolving movement.
2. Tweak the LFO Amount
- Increase the LFO amount until you hear the filter sweep up and down gently. This adds a sense of motion to your pad sound.
3. Shape the Sound with Envelopes
- Adjust the Amp Envelope to give your pad sound a slow attack and long release:
- Attack: 1-2 seconds for a soft fade-in.
- Decay: Short, around 100ms.
- Sustain: 100% for a full-bodied sound.
- Release: 3-5 seconds for a smooth fade-out.
Quick Goal: By the end of this section, you’ll have a pad sound that feels alive, with gentle filter sweeps adding a layer of depth to your track.
Step 4: Enhance with Reverb and Delay
- Add Reverb: Use a large hall reverb to add space and dimension.
- Apply Delay: Add a subtle delay effect to create a sense of depth and width.
Wrap-Up
And there you have it—a beautiful, evolving pad sound using filter modulation! 🌌 Pads are perfect for filling out the background of your tracks, adding atmosphere, and setting the mood. Experiment with different LFO shapes and rates to create unique textures.
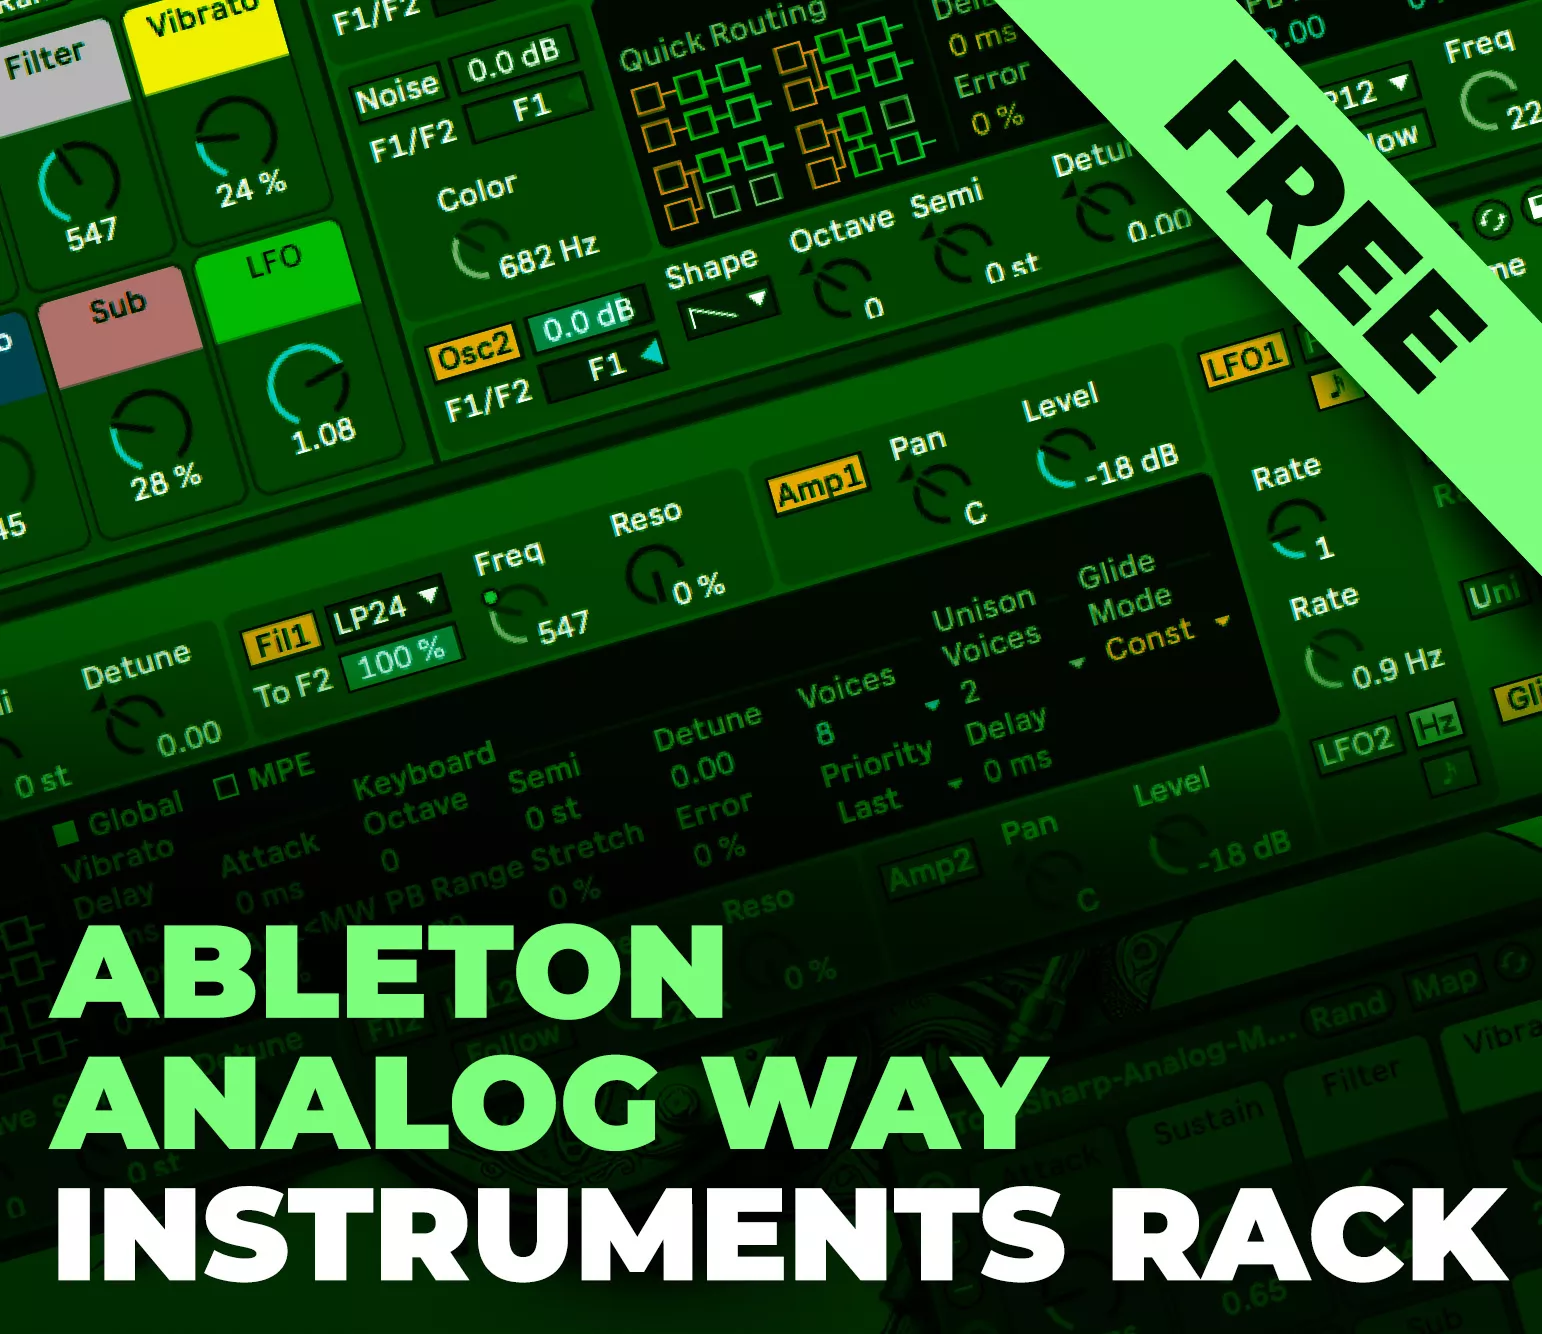
Before you go, check out our ToneSharp FREE Ableton Analog Instrument Rack to explore more sounds and experiment further!
Checkout next lesson: Create an Evolving Sound with LFO-Modulated Filter Cutoff
Stay sharp. Stay creative.
— The ToneSharp Team


