🥁 The Frustrating Reality of Lifeless Mixes
You know that feeling when you hear a professional track and the drums just slam? They're punchy, they're present, but they still breathe naturally. Then you look at your own drums and... they sound like cardboard boxes being hit with wet socks.
You've tried EQ. You've tried regular compression. You've even tried that expensive drum plugin everyone raves about. But something's still missing. Your drums either sound completely unprocessed and weak, or they sound squashed to death with all the life compressed out of them.
Here's the thing: You're stuck in the compression trap.
Standard compression forces you to choose between dynamics and power. You can have natural-sounding drums that lack punch, or you can have powerful drums that sound like they're trapped in a plastic bag. It's like trying to be loud and quiet at the same time—impossible, right?
Wrong. Enter parallel compression—the secret weapon that professional mixers have been using for decades to get drums (and everything else) that hit hard while keeping their natural dynamics intact.
The beauty of parallel compression is that it doesn't make you choose. You get to keep your natural, dynamic drums and add crushing power on top. It's the mixing equivalent of having your cake and eating it too.
What You'll Learn in This Guide
- The Problem: Why Normal Compression Kills Your Vibe
- What Is Parallel Compression (And Why It's Magic)
- The Different Types of Parallel Compression
- Setting Up Parallel Compression in Your DAW
- Step-by-Step: Your First Parallel Compression Setup
- Common Mistakes (And How to Avoid Them)
- The Bottom Line: When to Use Parallel Compression
🎯 The Problem: Why Normal Compression Kills Your Vibe
Let's talk about what happens when you slap a compressor on your drum bus with traditional settings:
- You set a low threshold to catch most hits
- You dial in a decent ratio (maybe 4:1)
- You adjust attack and release to taste
- You make up the gain
Sounds right, doesn't it? But here's what actually happens:
Every single drum hit gets compressed. The loud ones get squashed down. The quiet ghost notes get brought up. Everything becomes... the same. You've traded dynamics for consistency, and your drums now sound like they're playing from inside a fishbowl.
Sure, they're "controlled." Sure, they sit nicely in the mix. But they've lost that impact that makes people want to move.
Traditional compression is like putting a speed limit on your drums. Everything goes the same speed, but nobody gets excited about the ride.
This is why so many home studio mixes sound "amateur" even when the playing and songwriting are solid. The dynamics—the very thing that makes music feel alive—have been compressed out of existence.
Parallel compression solves this by letting you add power without removing the original dynamics. You're not replacing your natural drums; you're enhancing them.
🔄 What Is Parallel Compression (And Why It's Magic)
Simple explanation: You take your original signal, make a copy of it, crush that copy with heavy compression, then blend it back with the original.
What this gives you: The original dynamics from your untouched signal, plus the power and sustain from the heavily compressed copy.
Think of it like this: Imagine you're mixing a cocktail. The original signal is your premium whiskey—you don't want to ruin it, but it needs something extra. The parallel compressed signal is like adding a splash of intense flavor concentrate. You're not replacing the whiskey; you're enhancing it.
Here's the genius part: You control how much of each you hear. Want more natural dynamics? Turn down the compressed signal. Want more power? Turn it up. You're not locked into one compromise setting like with traditional compression.
Professional mixers call this "New York Compression" because it was popularized in New York recording studios in the '70s and '80s. Engineers would literally use two tape machines—one for the dry signal and one for a heavily compressed copy—then blend them on the console.
The result? Drums that hit like trucks but still breathe like acoustic instruments. Vocals that cut through dense mixes while maintaining natural expression. Mix buses that sound cohesive without being obviously processed.
🎛️ The Different Types of Parallel Compression
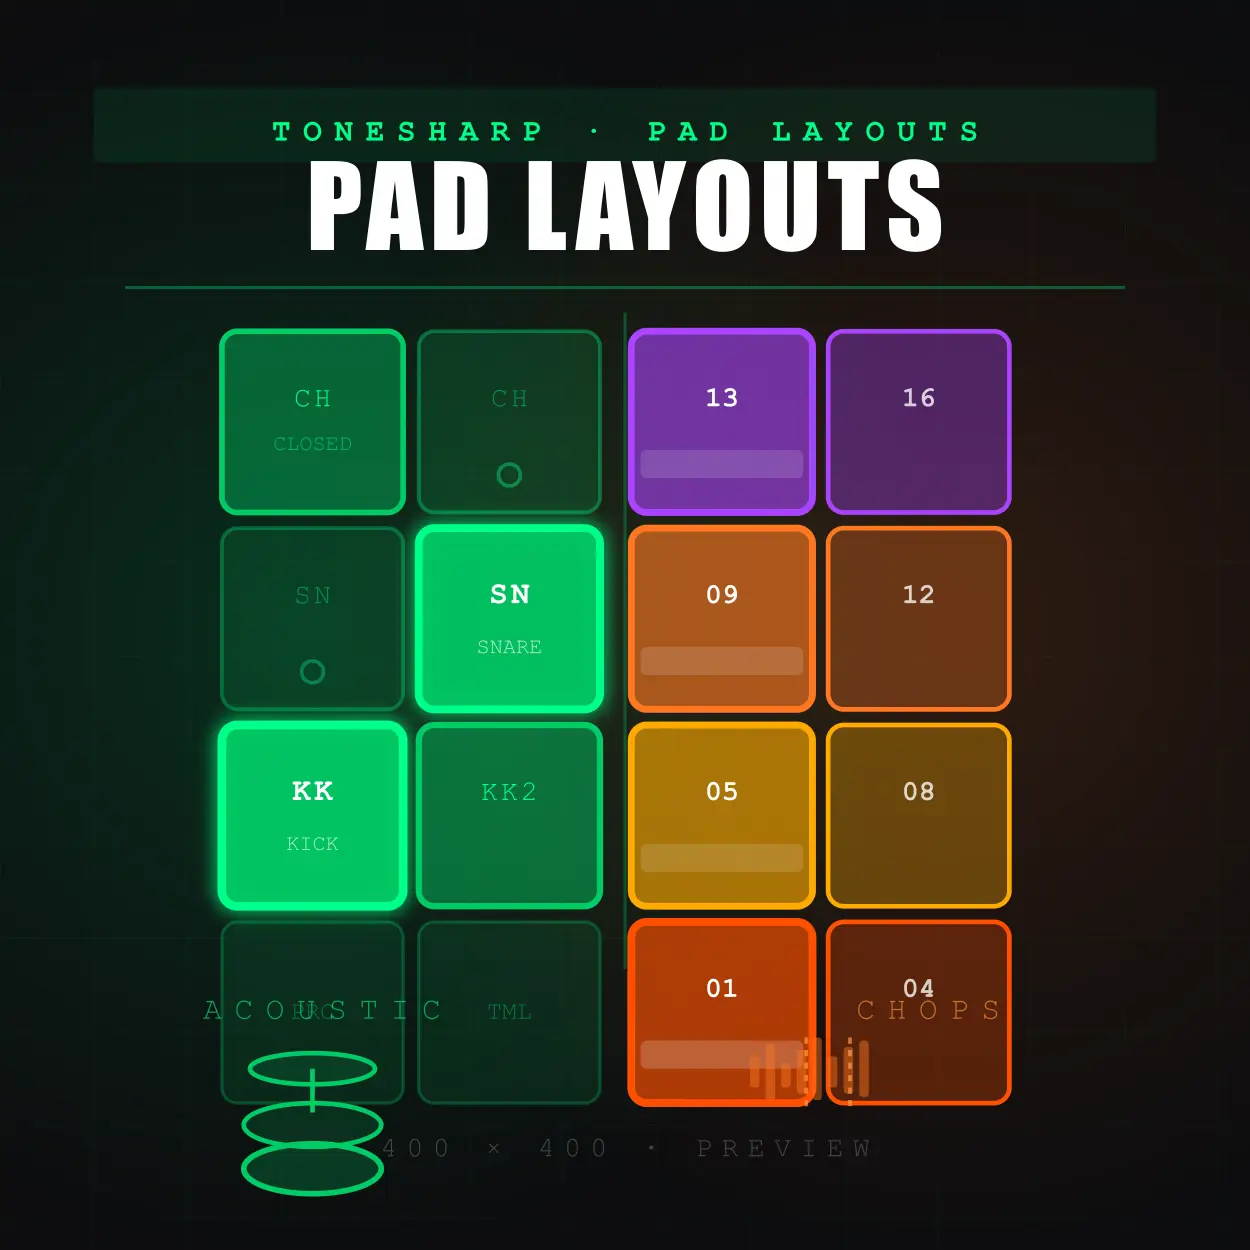
🥁 Drum Parallel Compression: The Classic Move
Why it works: Drums have huge transients followed by natural decay. Parallel compression lets you enhance the body and sustain without killing those crucial initial attacks.
Typical settings for the parallel compressor:
- Ratio: 10:1 to 20:1 (yes, really)
- Attack: Medium to slow (5-30ms) to let transients through
- Release: Fast to medium (50-200ms) to catch the next hit
- Threshold: Low enough to catch everything
The magic happens when you blend this crushed signal back with the original at maybe 20-40% level. Suddenly your drums have body, sustain, and presence, but they still feel dynamic and alive.
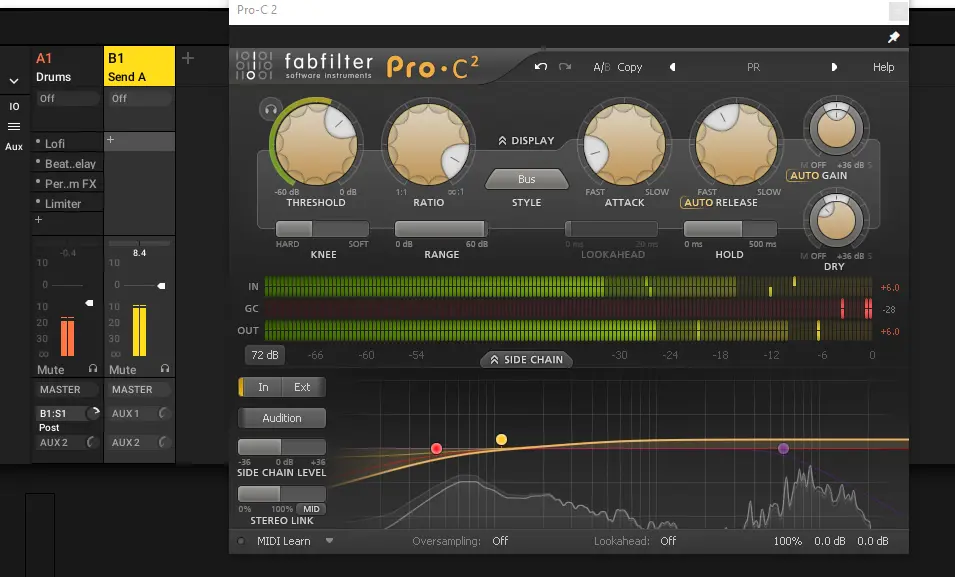
Pro tip: EQ the parallel signal differently than the original. High-pass it at 100Hz and boost around 1-3kHz for extra crack.
🎤 Vocal Parallel Compression: The Secret Sauce
Why it works: Vocals need to sit consistently in the mix while maintaining emotional expression. Parallel compression gives you both.
Here's what most producers don't realize: The best vocal sounds use multiple compressors. A gentle compressor for control, and a parallel compressor for presence and power.
Typical parallel vocal settings:
- Ratio: 8:1 to 15:1
- Attack: Medium (3-10ms) to preserve some consonant detail
- Release: Auto or medium-fast (100-300ms)
- Blend: Usually lower than drums (10-25%)
The parallel vocal track adds sustain to quieter words and presence to the entire performance without making it sound obviously compressed.
🎚️ Mix Bus Parallel Compression: The Glue
Why it works: It makes all your individual elements sound like they were recorded in the same space, while adding overall power to your mix.
This is where parallel compression gets subtle but incredibly powerful. You're not trying to hear the effect obviously—you're trying to make the mix feel more cohesive and impactful.
Mix bus parallel settings:
- Ratio: 4:1 to 8:1 (more gentle than individual instruments)
- Attack: Slow (10-30ms) to preserve mix transients
- Release: Auto or slow (500ms-2s) to breathe with the music
- Blend: Very subtle (5-20%)
🎸 Instrument Parallel Compression: The Fine Details
Bass guitars: Parallel compression adds sustain and note definition without losing the natural attack of each note.
Acoustic guitars: Brings out the body and resonance while keeping the natural pick attack and string noise.
Piano: Adds sustain to the notes and helps the instrument cut through dense arrangements.
Electric guitars: Can add chunk and sustain to rhythm parts, or help lead lines sustain and cut through.
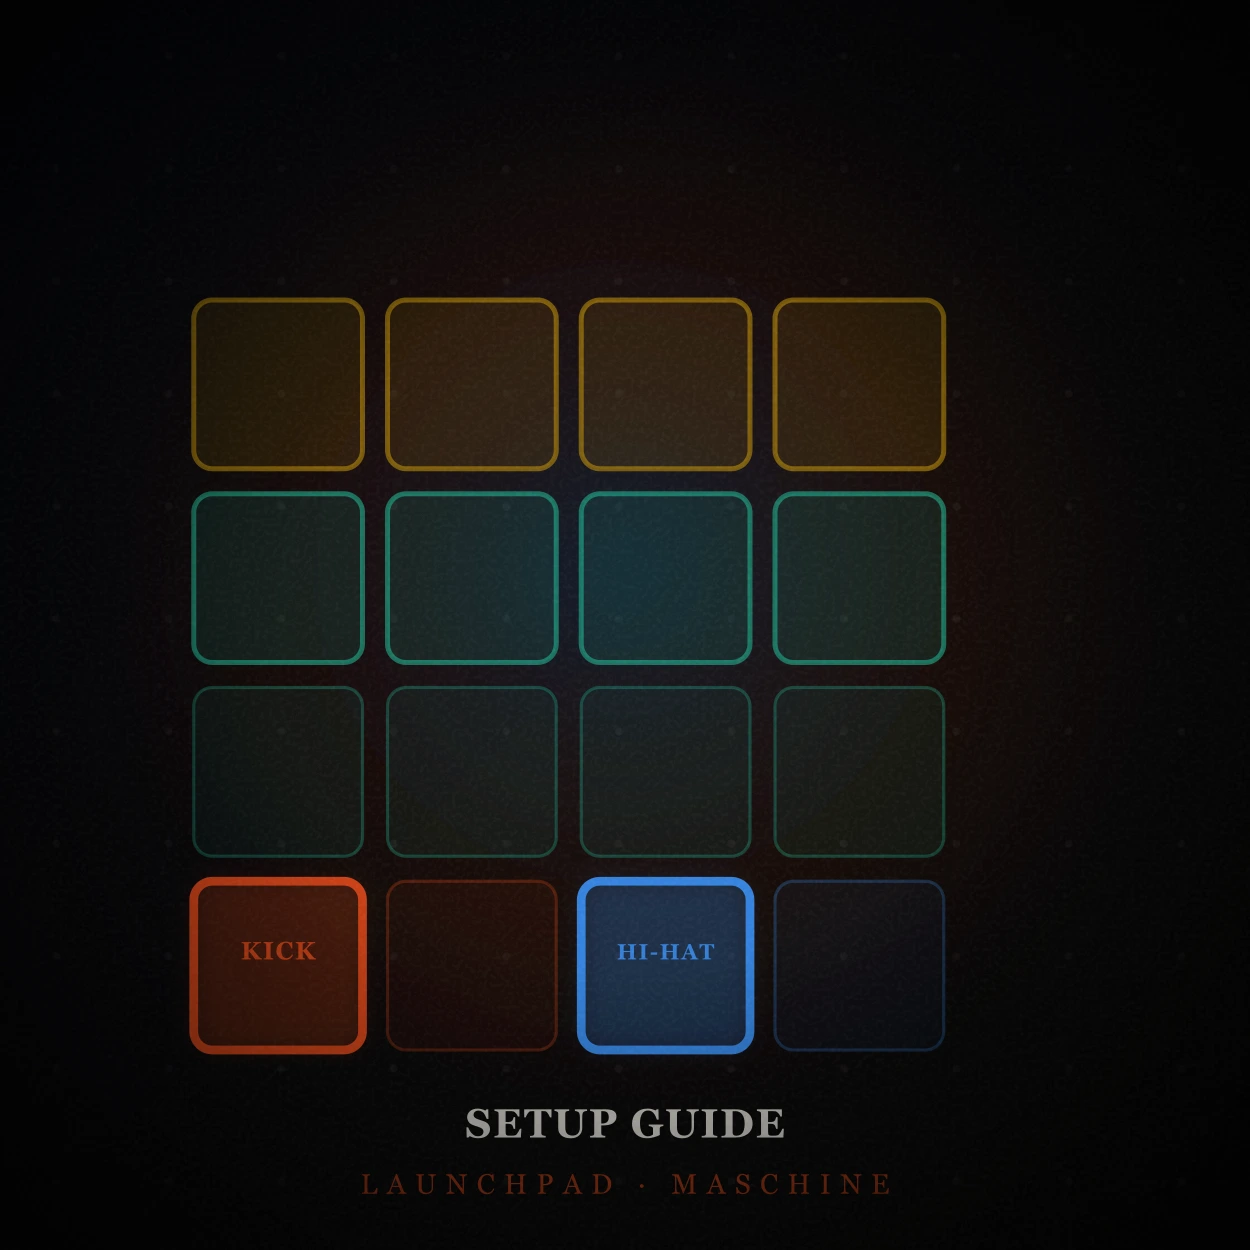
💻 Setting Up Parallel Compression in Your DAW
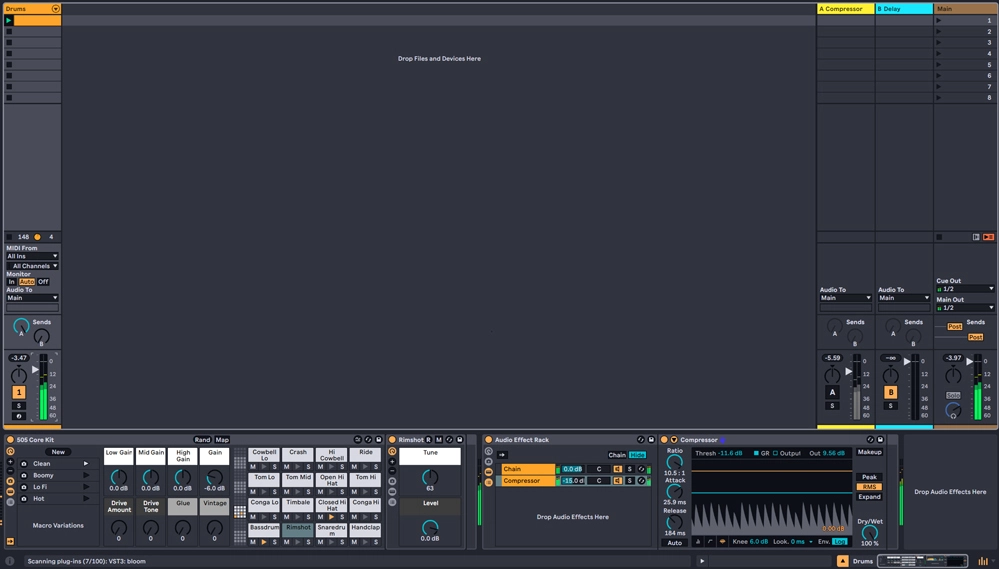
🔥 Ableton Live: The Send Method
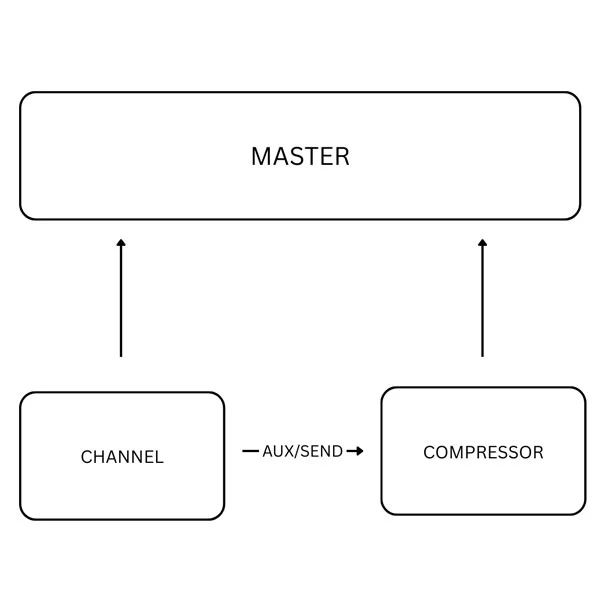
Method 1: Using Sends (Recommended)
- Create an audio return track (Ctrl/Cmd + T)
- Add your compressor to the return track with aggressive settings
- On your drum tracks, turn up the send to feed the return track
- Adjust the return track fader to blend the compressed signal
Method 2: Using Audio Effect Rack
- Select your drum tracks and Group them (Ctrl/Cmd + G)
- Add an Audio Effect Rack to the group
- Create two chains: one with no processing, one with heavy compression
- Use the chain volume faders to blend between dry and compressed
🎛️ Massive Software & Other DAWs
Logic Pro:
- Use Sends to feed an Aux track with compression
- Or use the Multipressor plugin in "Multipressor" mode with parallel blend
- The built-in compressors have "Mix" knobs for easy parallel processing
Pro Tools:
- Create an Aux Send to a heavily compressed aux track
- Many Pro Tools compressors have built-in mix controls
- Use track duplicates for more complex parallel setups
FL Studio:
- Use the Mixer's send knobs to route to a compressed return channel
- Or duplicate tracks and process them differently
- Fruity Compressor has a built-in mix knob
Cubase/Nuendo:
- Use Group channels with Send Effects
- Many Cubase compressors include Mix/Dry-Wet controls
- The MixConsole makes parallel routing very visual
📝 Step-by-Step: Your First Parallel Compression Setup
Let's walk through setting up parallel compression on drums in any DAW:
Step 1: Route Your Signal (2 minutes)
- Identify your drum source (drum bus, individual tracks, or drum machine)
- Create a send or duplicate to route a copy of the signal
- Set up the routing so you can control the blend between original and processed
Step 2: Dial In Aggressive Compression (3 minutes)
- Add a compressor to your parallel track
- Set the ratio high (10:1 or more)
- Pull the threshold way down until you're getting 10-20dB of gain reduction
- Set a medium attack (5-15ms) to let some transient through
- Set a fast-medium release (50-200ms)
Step 3: Shape the Tone (2 minutes)
- Add EQ after the compressor
- High-pass around 80-120Hz to avoid muddiness
- Consider a presence boost around 1-3kHz for extra crack
- Maybe roll off some highs above 8kHz to avoid harshness
Step 4: Blend to Taste (1 minute)
- Start with the parallel signal at zero
- Slowly bring it up until you hear the drums get more powerful
- Back off slightly from where it sounds obvious
- A/B test with the parallel signal on/off to check your work
⚠️ Common Mistakes (And How to Avoid Them)
Mistake 1: Not Compressing Hard Enough
The problem: Thinking parallel compression should be subtle on the compressed channel.
The fix: The blend should be subtle, but the compression itself should be aggressive. Crush that parallel signal!
Mistake 2: Using the Same EQ on Both Signals
The problem: The parallel and original signals reinforce the same frequencies, leading to buildup.
The fix: EQ them differently. High-pass the parallel signal, or boost different frequency ranges on each.
Mistake 3: Too Much Blend
The problem: Turning the parallel signal up until you can obviously hear the compression.
The fix: Find the sweet spot where you feel more power and punch, but the compression isn't obvious.
Mistake 4: Wrong Attack Settings
The problem: Setting attack too fast and killing the natural transients.
The fix: Let some transient through with a medium attack. The parallel signal should add body, not replace the natural attack.
Mistake 5: Ignoring the Phase Relationship
The problem: Not checking if the parallel and original signals are fighting each other.
The fix: If something sounds hollow or weird, try flipping the polarity on the parallel channel.
🎯 The Bottom Line: When to Use Parallel Compression
Use parallel compression when:
- Your drums sound good but need more power and presence
- Your vocals get lost in dense arrangements
- Your mix needs more cohesion but you don't want obvious processing
- You want sustain and body without killing dynamics
- You're trying to add energy to individual instruments
Don't use parallel compression when:
- Your source material already lacks dynamics
- You just need basic level control (use regular compression)
- Your mix is already too dense or muddy
- You haven't sorted out your basic mix balance first
Here's the truth: Parallel compression isn't magic, but it's pretty close. It's one of those techniques that immediately separates amateur-sounding productions from professional ones, because it solves the fundamental problem of dynamics vs. power.
Most producers spend years trying to find that perfect compressor setting that gives them everything they want. Meanwhile, professional mixers are using parallel compression to get the best of both worlds—natural dynamics and crushing power.
The next time you're mixing drums that need more impact, or vocals that need more presence, or a mix that needs more glue, don't reach for more extreme compression settings. Set up a parallel processor and blend in exactly the amount of power you need without sacrificing the life of your performance.
Your mixes will thank you. Your listeners will feel the difference. And you'll finally have drums that slam the way they do on your favorite records.
Do you want to know - Why Your Mix Sounds Great in Your Room but Terrible Everywhere Else
Stay sharp. Stay dynamic.
— ToneSharp